1
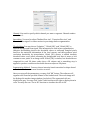
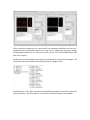
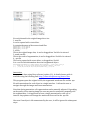
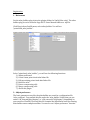
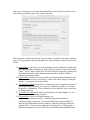
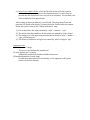
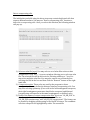
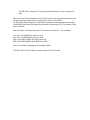
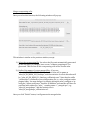
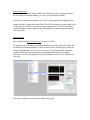
only once to setup your own. Once the parameters are set, you do not need to reset them unless you rename your files or move the data. When you select “Adjust preference” from the menu, you will see the above window pop up. The program reads the information in “atlas_config.txt” and fills them in the screen. 1) Input folder is where the user puts input files, such as cellname lists that tells the computer what cell names to expect. The user needs to create a file called “input”. In the “input” folder place all of the files from “input.zip” found in the Users Manual section of the supplemental methods. Using the “Folder…” navigate to the input folder. 2) Output folder is where the user puts files produced by the atlas builder, such as linkers and new .apos (see below). Create a file called “output”. Using the “Folder…” navigate to the output folder. 3) Cell name file prefix is the prefix of cell name lists. For example, the names of cells expressing AP markers are saved in “cellnamelist_ap.txt”. So cell name file prefix is ‘cellnamelist’. This is shared by all the markers. There is no need to change this field. 4) Cell name file suffix is the suffix of cell name lists. In this example, it is ‘.txt’. There is not need to change this field. 5) Cell type file is a list of cell type file names, e.g., “cellname_type_interneuron.txt”, “cellname_type_motoneuron.txt”, “cellname_type_secretory.txt”. You can find them in your input folder. To remove any of these files click the “Remove” button on the right. Then you click the “File …” button on the right of the “cell type file:”. It will pop up a window allowing you to select a file. The selected file will be added into the