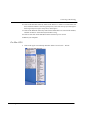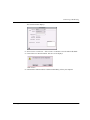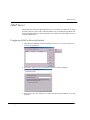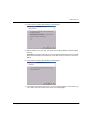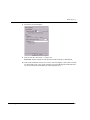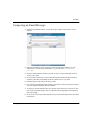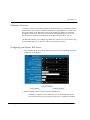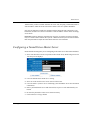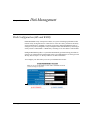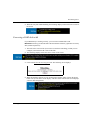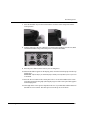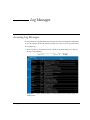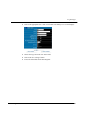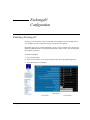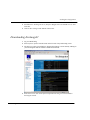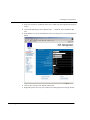
1
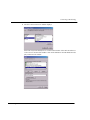
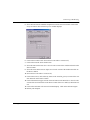
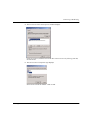
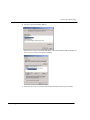
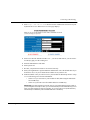
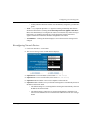
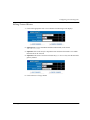
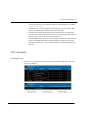
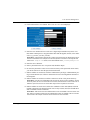
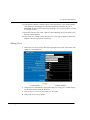
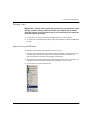
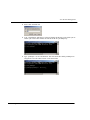
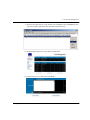
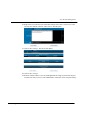
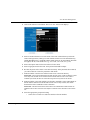
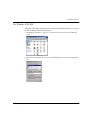
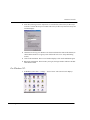
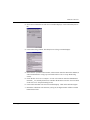
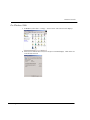
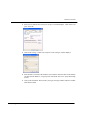
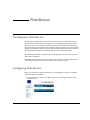
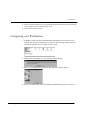
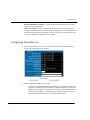
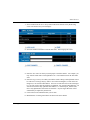
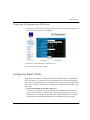
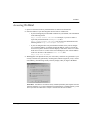
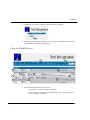
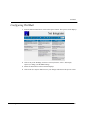
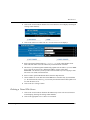
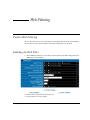
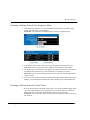
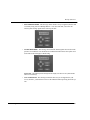
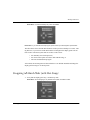
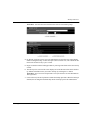
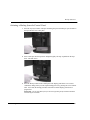
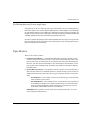
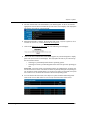
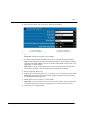
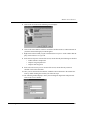
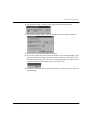
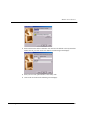
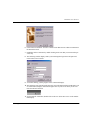
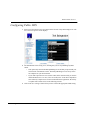
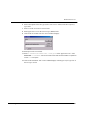
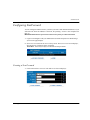
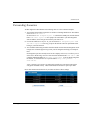
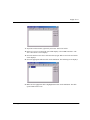
Disk Management
5.
6.
7.
Connect to WebConfig:
a.
Read the IP address on the display panel. For demonstration purposes, we will use the
following address: 192.168.0.1
b.
Enter http://192.168.0.1:8042 into a web browser’s address bar. Press Enter
on your keyboard. WebConfig’s System Status page displays.
The Disk Status section of the screen presents you with two options:
•
To configure the new disk as part of the existing RAID array, click on add disk #_
to your RAID array.
•
To configure the new disk as idb, click on configure disk #_ for use in idb
backups.
Depending on your choice, your Net Integrator will configure the new disk as idb or as
part of your RAID array.
Net Integrator User Manual – Version 3.72
224