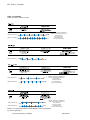
1
54
installation—flashings
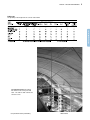
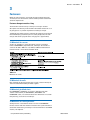
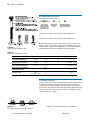
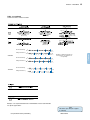
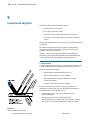
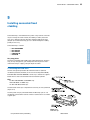
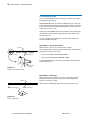
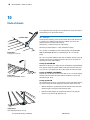
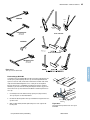
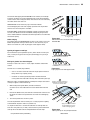
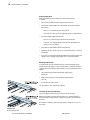
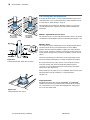
Using notching tools
After the cladding is fixed and the turn-ups finished, proceed
as follows.
• Place a flashing with the notch-edge resting on the ribs.
• Locate your notching tool over a rib with the notching head against
the flashing.
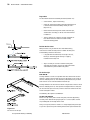
vertical tool:
The body locates along the rib.
horizontal tool:
the lugs on the underside locates on top of the rib.
• Raise the handle to open the tool and:
vertical tool:
lift the flashing into the mouth of the tool;
horizontal tool: slide the mouth of the tool over the edge of the
flashing as far as it will go.
• Push down on the handle to perform the notching.
• Repeat for all ribs, checking in each case that the flashing is correctly
positioned.
• If you are using a horizontal tool, bend down the tongues between the
notches over a suitable straight edge (such as a piece of timber).
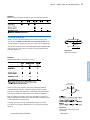
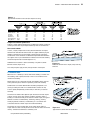
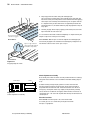
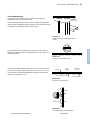
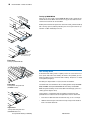
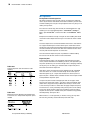
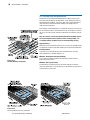
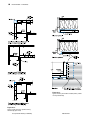
Notching with tinsnips
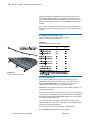
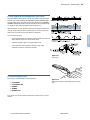
If notching tools are not available, flashings can be notched to the rib
profile with tinsnips (Figure 11.3.3). The procedure is sometimes known as
scribing. After the cladding is fixed and the turn-ups finished, proceed as
follows.
• Place the flashing with the turned-down edge resting
on the ribs.
• Mark out the notching using a template positioned over
each rib.
• Cut the notches with tinsnips.
This procedure is also used for hip cappings.
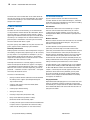
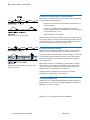
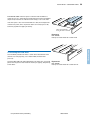
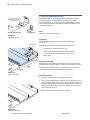
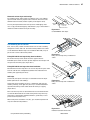
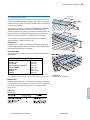
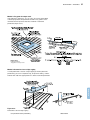
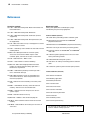
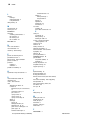
Fasteners for transverse flashings
You must properly fix both flashings and the ends of all sheets.
Where the cladding is pierce-fixed through crests, and the position of
the purlin allows it, the fasteners used to fix the sheets, may also fix the
flashings.
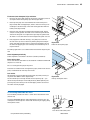
On all other installations, pierce-fix your flashing to the ribs or crests of
the sheets.
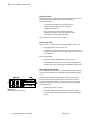
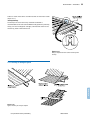
Figure 11.3.2
Using notching tools
Using lysaght Roofing and Walling
2008-9 Edition