1
input signal. Note that the Counter measures the input signal after the
signal is conditioned by the input settings (impedance, coupling,
attenuation, and filter, refer to Ch.4.7). The measurement result is
corrected for X10 attenuation. Also note that Gating&Arming, Limit and
Math are not available for voltage peak measurements.
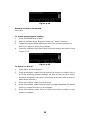
To measure positive or negative voltage peak
1.
Connect your signal source to channel 1 or 2.
2.
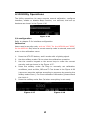
Press VOLT PEAK button to select voltage peak measurement
function.
3.
Press the softkey under VOLT to select input channel.
4.
Optional settings:
a. Press the softkey under MODE to select the operational mode as
Fast or Slow.
b. Press the softkey under SHOW to select display of the result as
Vmax (positive peak), Vmin (negative peak), Vc (average from
positive and negative peak) or Vpp (peak-to-peak).
c. Use the selections in the CH1 or CH2 to set the input conditions and
the trig Sens.
d. Use Show Status button to check the conditions of Input, Volt, Stats
and Limit.
e. Use Save&Recall button to save your settings (i.e., changes made in
steps a-d) if it’s needed (refer to Ch.4.9).
5.
Press RUN button to make continuous measurements.
6.
Press STOP/SINGLE button to stop current measurement or to make
single measurement.
※ Note: The U6220A doesn’t provide the channel 2.
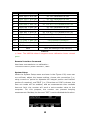
Remote Interface Command
Use the following commands for making voltage peak measurement:
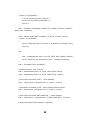
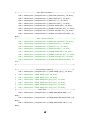
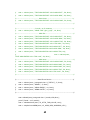
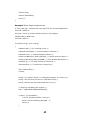
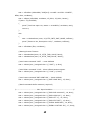
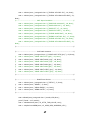
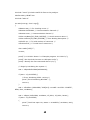
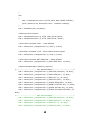
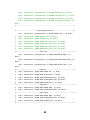
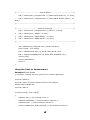
[:SENSe]:FUNCtion[:ON] “[:][XNONe:]VOLtage:MAXimum [1|2]”
[:SENSe]:FUNCtion[:ON] “[:][XNONe:]VOLtage:MINimum [1|2]”
[:SENSe]:FUNCtion[:ON] “[:][XNONe:]VOLtage: PTPeak [1|2]”
[:SENSe]:FUNCtion[:ON] “[:][XNONe:]VOLtage: CENTer [1|2]”
Or
:CONFigure[:SCALar][:VOLTage]: MAXimum [(@1)|(@2)]
29