1
AssetView 3.2 - User's Manual
AssetView Initial Settings
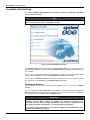
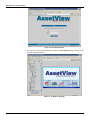
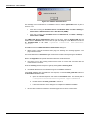
To open the AssetView Welcome Screen, select Start > Programs > System302 > AssetView
and click Installation Guide.
NOTE
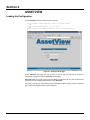
When you run the AssetView Server for the first time, the AssetView Welcome Screen
opens to guide the user while configuring the system.
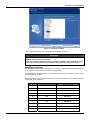
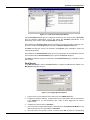
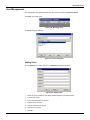
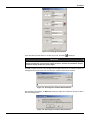
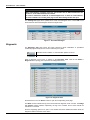
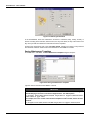
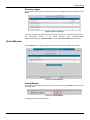
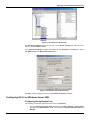
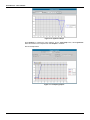
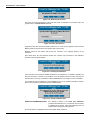
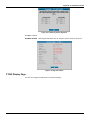
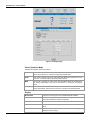
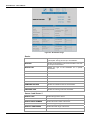
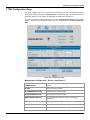
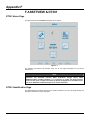
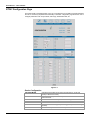
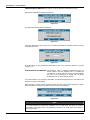
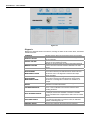
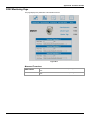
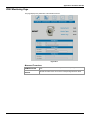
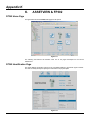
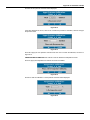
Figure 1.12. AssetView Welcome Screen
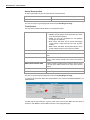
The Welcome Screen will indicate the status of the AssetView installation. For example, if the user
is executing the application for the first time, the Welcome Screen will indicate that the database is
not configured.
If an error message appears indicating that the HardKey is not valid, check if it is connected properly
and if you have a valid license. See section AssetView Licensing for further details.
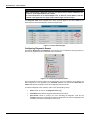
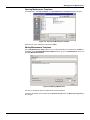
Use the links in the Welcome Screen and follow the instruction in the sections below to configure
the computer to run the AssetView and AssetView Server applications.
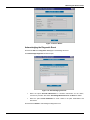
Creating the Database
Run this procedure in the machine that hosts the database server to create the AssetView
database.
It is not necessary to install System302 and the database on the same machine, because the
AssetView Server can remotely access the database. The SQL Server 2000 can be installed on
any computer that communicates with the AssetView Server.
IMPORTANT
The database for AssetView version 3.1 or higher is not compatible with previous
AssetView versions. When creating the database, the history of all registers and
operations will be deleted. For further information on how to keep the database history
from versions previous of AssetView 3.1, contact your Smar representative.
To create the AssetView database, the user must be logged on as an Administrator or a
member of the Administrators group.
1.8