1
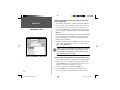
Creating an automatic route with the Route Properties:
Reference
Creating Routes
1. Follow the previous directions for “Creating a direct route with the
Route Properties.”
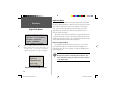
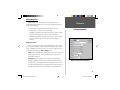
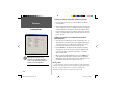
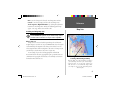
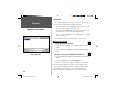
2. With a routable MapSource product, MapSource will automatically calculate a turn-by-turn route. As you add points, the directions and turns
will be listed between each waypoint in the ‘Route Properties‘ dialog
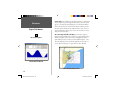
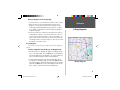
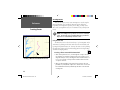
box. The automatic route will also show the roads it follows and turns
it takes on the Graphic Map, instead of showing a direct line from one
point to the next.
Adding a map location to an automatic route with the
Route Properties:
1. Select a point in the route where you want to add a map location. To
add a map location at the end of the route, highlight the blank space
at the end of the route list. To add a point anywhere else, click the
point in the route list that will follow the location you add.
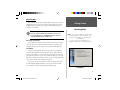
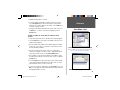
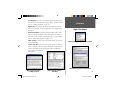
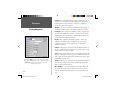
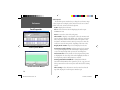
2. Click the Find button. The advanced ‘Find’ dialog box will appear,
allowing you to search for a city, point of interest or address to add
to the route. See pages 27-30 for more information on using the
advanced ‘Find’ feature.
)
Remember that you can set up
preferences for creating automatic
routes on the ‘Autorouting’ Tab under
‘Preferences’ in the Edit Menu.
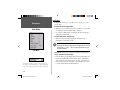
3. When you have found the desired map location, click the OK button
in the advanced ‘Find’ dialog box. The map location will be added
directly before the point you selected in the route and MapSource will
automatically calculate the new location into the route.
Naming a Route
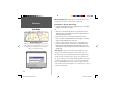
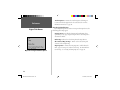
If the ‘Autoname’ checkbox is marked, MapSource will automatically
name the route using the names of the first and last waypoints entered in
the route. To enter a different name, remove the mark from the
‘Autoname’ checkbox and enter a name in the ‘Name’ field.
48
MS Manual - Reference.indd 48
5/13/2002, 9:46:37 AM