1
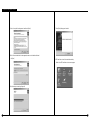
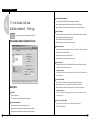
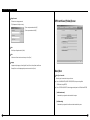
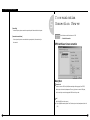
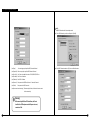
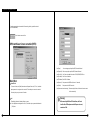
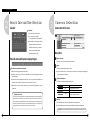
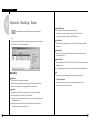
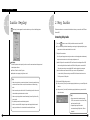
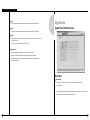
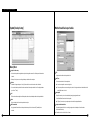
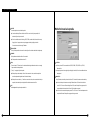
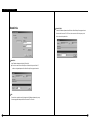
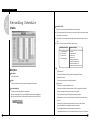
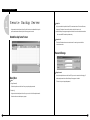
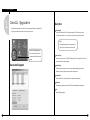
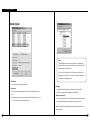
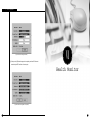
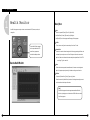
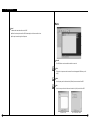
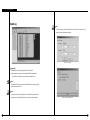
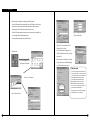
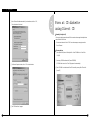
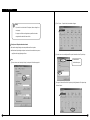
I. Operate SPR Smart Viewer
From the communication enviroment tab of Viewer setting, the line type shall be selected
by “PSTN/ISDN(NO router)”
.
Select button to connect to View
SPR Smart Viewer Screen connection (PSTN)
▶ [Group]
: You can assign group for any View(DNE) information Entered
▶ [Group Add] : Make a new group for any View(DNE) information Entered
▶ [View Code] : View Code can be added in the order of 100-001,100-002,100-003...etc.
▶ [View Name] : Enter Place of installation
Description
Connection List
: To connect to View, select [Add ] button and enter Group and View code, IP, Tel no. , Installation
please, password etc. to register in the connect list. This enables you to connect to connected
▶ [TEL Address]: Enter DNE’s IP address
▶ [Password]
: Enter password for DNE Menu (Network → Password)
▶ [Confirm]
: Enter password for DNE connection
▶ [Auto connection when starting] : When executing the Viewer, this function allows to connect
to View automatically.
View easily when you try to connect to View later.
Add
[Warning]
: This adds the information of the desired View to connect.
While connecting to DNE from SPR Smart Viewer, it will auto-
▶ Select [Add] button to designate View Code, IP , Installation place , password and then select
check the View CODE and password and if they are not correct,
[OK] button.
26
connection will fail.
27