1
Chapter
7
Using the Trial Balance
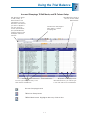
Assigning Accounts to Account Groups and Subgroups
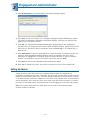
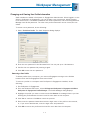
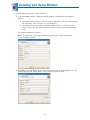
To assign accounts to a grouping, do the following:
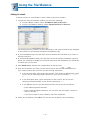
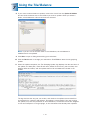
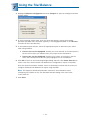
1. If you are in the Binder Index, select Trial Balance/Account Groupings. If you are in the
trial balance, select Engagement/Account Groupings.
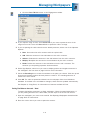
2. Select the trial balance and grouping list that contain the group or subgroup you want to
assign the accounts to. The groups and subgroups that have been defined for this
grouping list appear on the right side of the dialog.
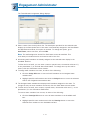
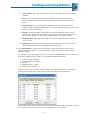
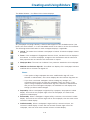
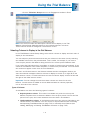
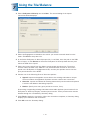
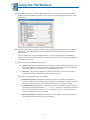
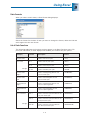
3. On the left side of the dialog is a listing of the accounts that have not been grouped.
Select the accounts you want to assign to the group or subgroup. You can select several
accounts using k to select a range of accounts or b to select non-sequential
accounts.
Tips:
§
§
Use the Account Filter field to show only the accounts you want. For example, to
only show accounts with a second character of 2, type ?2* in the filter field.
Delete this information to show all accounts again.
Use the Description Filter field to show only the account descriptions you want.
For example, to only show Accumulated Depreciation accounts, type: accum* in
the filter field. Delete this information to show all accounts again.
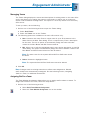
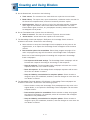
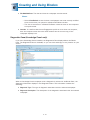
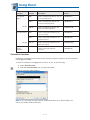
4. On the right side of the dialog, select the group or subgroup where you want to place
the accounts. Click the plus sign (+) below the Groups and Subgroups box to expand all
groups and display the subgroups and accounts assigned to each. Click the minus sign
(-) to collapse all entries in the grouping box to show only subgroups. You can also click
individual groups and subgroups to expand and collapse their listings.
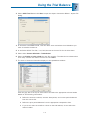
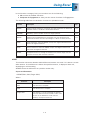
5. Click the Group Accounts right arrow button to move the selected accounts to the group
or subgroup you selected.
Tip: You can also move selected accounts by dragging them to the appropriate
grouping on the right.
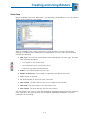
To remove accounts from a group or subgroup, select them and click the Ungroup
Accounts left arrow button. In the lower left corner of the Account Groupings dialog, the
number of ungrouped accounts displays. In most cases, group all of the accounts to the
grouping list.
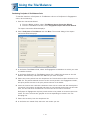
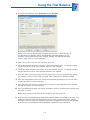
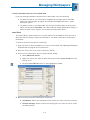
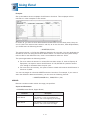
6. To add an account not listed in the Chart of Accounts, click Add Account and enter the
new account information. Click OK to create the account. Remember to group the
account after you create it.
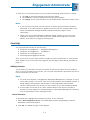
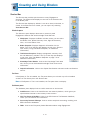
7. To move accounts from one group or subgroup to another, highlight the accounts,
right-click, and select Cut. Then highlight a new group or subgroup, right-click and select
Paste.
8. To copy subgroups from one group to another, highlight the subgroup, right-click, and
select Copy from the pop-up menu. Then right-click the new group and select Paste.
7 - 58