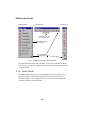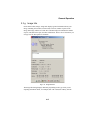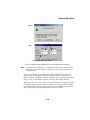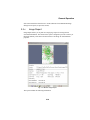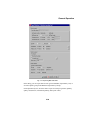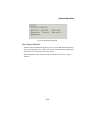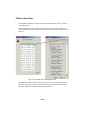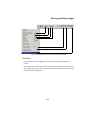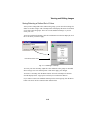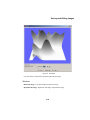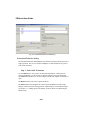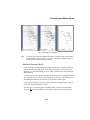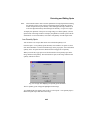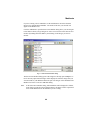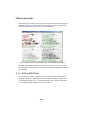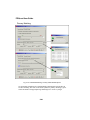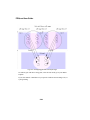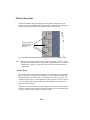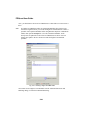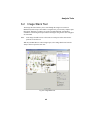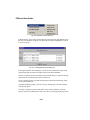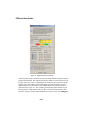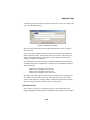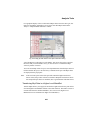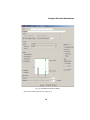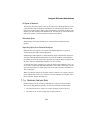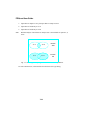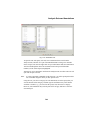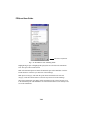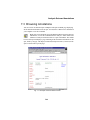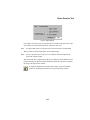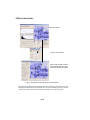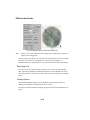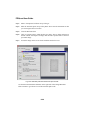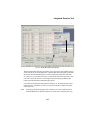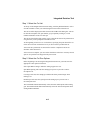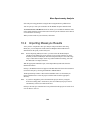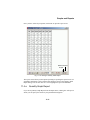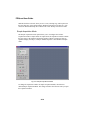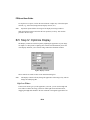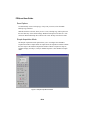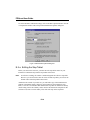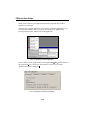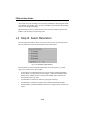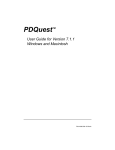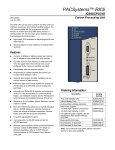
1
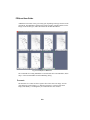
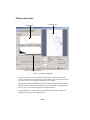
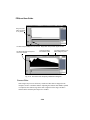
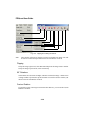
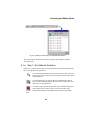
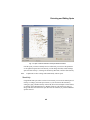
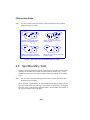
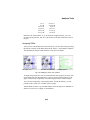
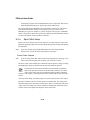
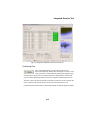
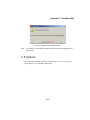
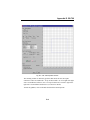
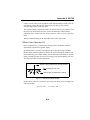
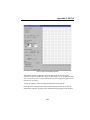
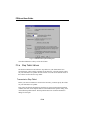
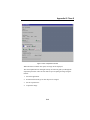
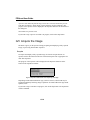
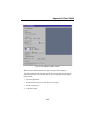
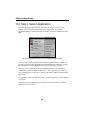
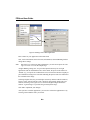
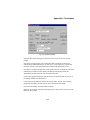
PDQuest User Guide
Step 3:
Place a clean plastic Gel Sheet on top of the gel
Step 4:
Place the microtiter plate on top of the plastic sheet. Note the orientation so that
you can recognize the A1 location.
Step 5:
Close the Enclosure door
Step 6:
Click on "Acquire image" when the plate is in place. The UV lights will turn on
and the camera will acquire an image with the same exposure time as the first
spot cutter image.
Step 7:
Assess the image on the screen for the wells that need to be recut.
Fig. 8-16. Microtiter plate with fluorescent spots in wells.
Use the Zoom and transform functions on the right side of the "Image Microtiter
Plate" window to get a better view of the microtiter plate wells.
8-20