1
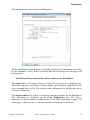
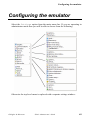
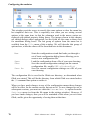
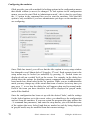
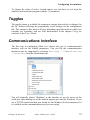
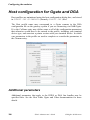
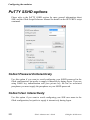
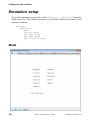
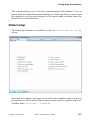
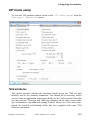
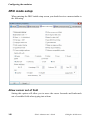
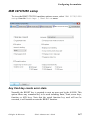
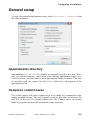
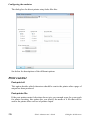
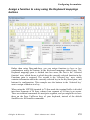
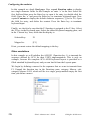
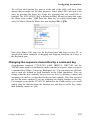
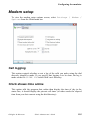
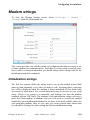
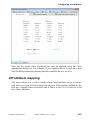
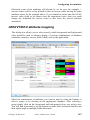
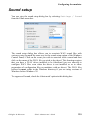
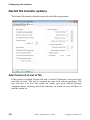
Configuring the emulator
Hide Plink
The first Glink you start automatically opens a command line 'SSH channel' to
the SSHD server system using the PuTTY plink module. This channel is visible
by default so that the very first time you connect you can follow the SSH
connection dialog. Once you have reached the situation where plink starts up by
itself you can check the option for hiding it so that use of the SSH channel is
transparent.
Private key file
Instead of a password you can configure the Glink PuTTY interface to use Public
key authentication when identifying your Glink to the SSH Daemon. Public key
authentication is based on two keys; a public key which anyone can know, and is
configured on the SSH system, and a private key which only you know. If your
private key is stored somewhere on the file system enter the path or choose
Browse to look for it. The Glink PuTTY interface requires that your private key
is stored in PuTTY native format (*.PPK). If your private key has an associated
passphrase then the passphrase must be entered in the SSHD Password field.
If you do not have a public/private key pair, but would like to begin using Public
key authentication, use the Generate button. Glink starts the PuTTY key
generation utility. If the utility is not available in the Glink directory Glink will
install it for you. The key generation utility allows you to store your private key
in PuTTY native format (*.PPK), and optionally encrypt it using a ‘passphrase’
that will be required each time you use the key.
The next step is to configure your public key on the SSH server system. You
must use the Glink PuTTY SSHD network interface to open a command line
'SSH channel' on the SSHD server system using your user name and password.
The exact procedure varies, but typically you change into the .ssh directory and
open the file authorized_keys with your favourite editor. (You may have to
create this file if this is the first key you have put in it). Then switch to the
PuTTY key generation utility window, select all of the text in the ‘Public key for
pasting into authorized_keys file’ box, and copy it to the clipboard. Then, switch
back to the Glink window and insert the data into the open file, making sure it
ends up all on one line. Save the file
Refer to the PuTTY User manual for a detailed explanation of PuTTY Public key
authentication support.
Gallagher & Robertson
Glink: Administrator’s Guide
123