1
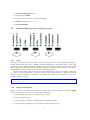
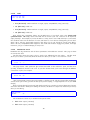
5. Jumps to the patch load/save page
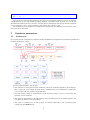
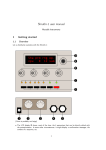
It’s easy to remember how the cycles are organized - just look at the grouping of the LEDs - they
show you which pages are bundled with each other ; and they sit just on top of the button that cycles
through them. Let’s take a simple example. When you switch on the Shruti-1, the current page is the
Filter page. The 4th LED is lit and the synth is showing:
cut res env lfo
110
0 10
0
Press the 4th button, this jumps to the arpeggiator page:
bpm oct pat swg
120
0 |1
0
9th LED is lit. Press this button again. This brings the next page in the group, the step sequencer:
step sequencer
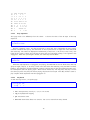
0000ffffcccc4444
10th LED is lit. Press again. This brings the keyboard/tuning page:
oct rag prt chn
0 equ
0
1
11th LED is lit. Press again. The 9th LED is lit and we’re back to the arpeggiator:
bpm oct pat swg
120
0 |1
0
Now let’s move to the oscillators. Press the first button. The 1st LED lights up and the display
shows:
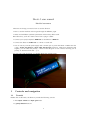
sha prm rng op
saw
0
0 1+2
1.2.3
Editing parameters
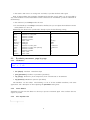
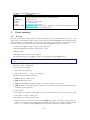
When a page is active, the Shruti-1 shows you four parameters that can be edited. You can simply adjust
one of those parameters by turning the corresponding knob. For example, when the filter page is active:
cut res env lfo
110
0 10
0
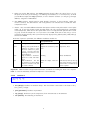
You can turn the first knob to control the filter cutoff. While you turn the knob, the Shruti-1 "deep
dives" on this parameter and really tells you what it’s all about (no pesky abbreviation...):
filter
cutoff
89
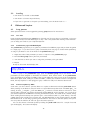
When you are done, after a short time lapse, the display gets back to showing the 4 parameters:
3