1
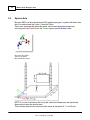
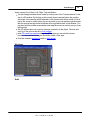
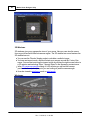
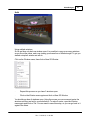
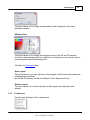
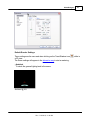
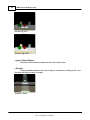
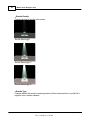
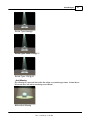
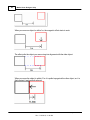
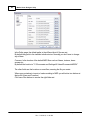
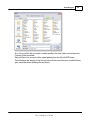
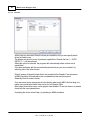
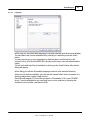
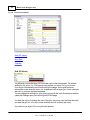
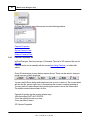
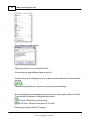
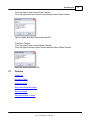
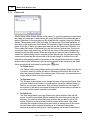
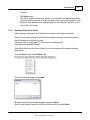
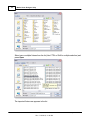
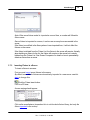
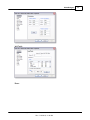
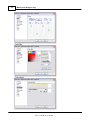
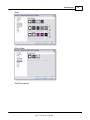
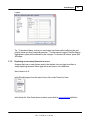
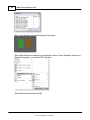
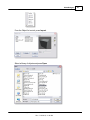
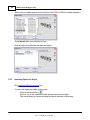
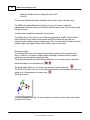
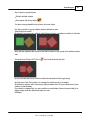
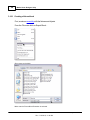
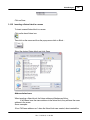
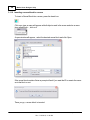
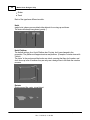
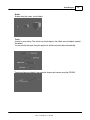
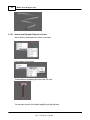
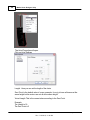
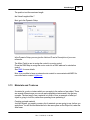
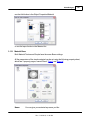
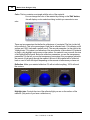
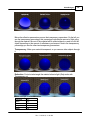
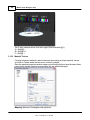
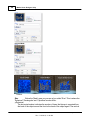
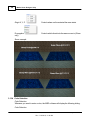
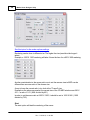
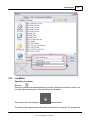
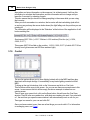
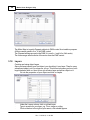
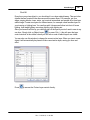
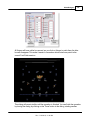
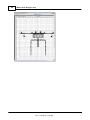
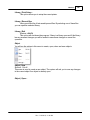
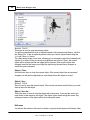
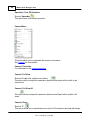
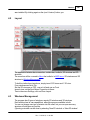
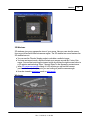
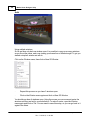
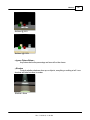
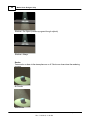
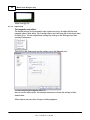
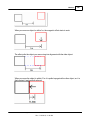
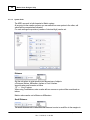
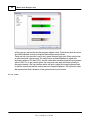
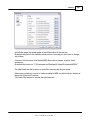
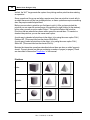
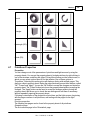
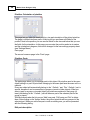
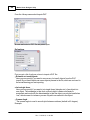
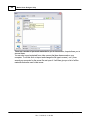
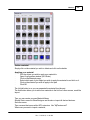
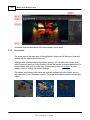
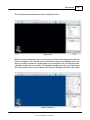
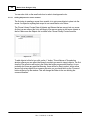
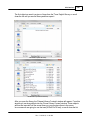
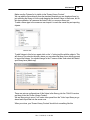
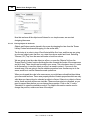
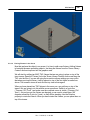
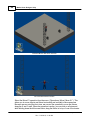
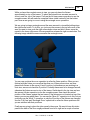
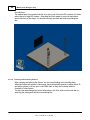
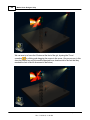
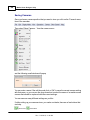
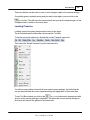
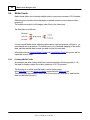
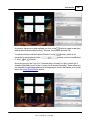
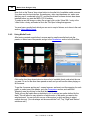
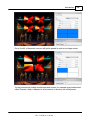
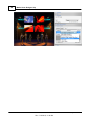
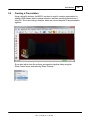
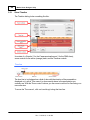
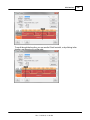
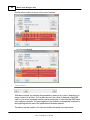
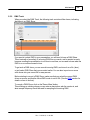
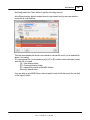
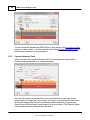
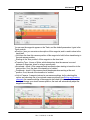
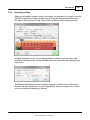
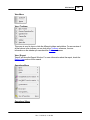
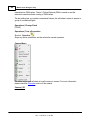
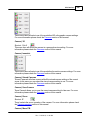
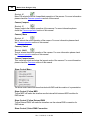
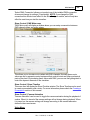
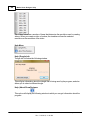
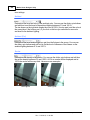
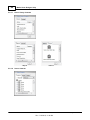
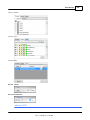
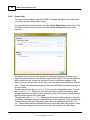
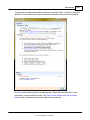
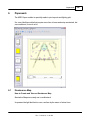
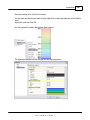
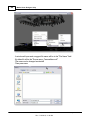
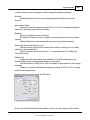
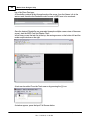
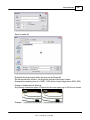
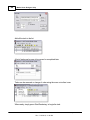
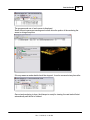
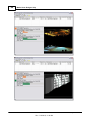
3D Visualizer
225
Scene after object insertion
5.2.2.4
Placing Fixtures in the Scene
Now that we have the object in our scene, it is time to add some fixtures. Adding fixtures
is basically the same as adding objects. Just drag the fixtures from the 'Scene Library
Content' section drop them into the graphics area.
We will start by adding two MAC TW1 fixtures that we are going to place on top of the
truss towers. Open the 'Fixtures' list in the 'Scene Library Content' section and drag the
TW1 onto the floor. If you are still using the isometric camera settings you may notice
that when you drop the fixture, it will be placed on top of the first object as seen from
above. The isometric views all work like the top view in that regard.
When you have placed two TW1 fixtures in the scene, we can put them on top of the
towers. We are going to do this with the move operations. Switch to a front view
( 'Camera | 2D | Front' ) and make sure the complete scene is visible ( 'Camera | Full
View' ). As you can see, the fixtures are hanging, so we need to rotate them 180
degrees around the Z axis (or X axis), so they will be standing. Use the Rotation
property to rotate the fixtures. When you have rotated the fixtures you can place them on
top of the towers.
© 2015 Martin Professional A/S, Lighthouse Holland
Rev.: 7/10/2015, 11:49 AM