1
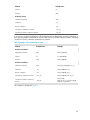
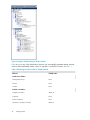
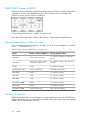
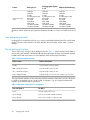
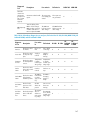
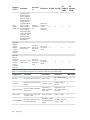
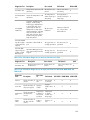
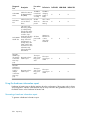
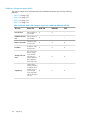
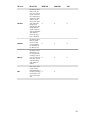
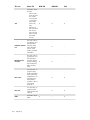
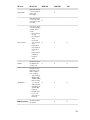
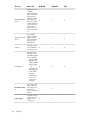
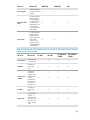
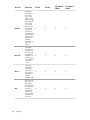
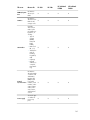
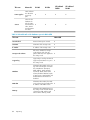
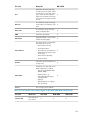
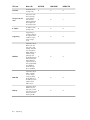
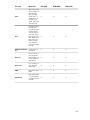
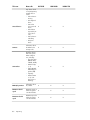
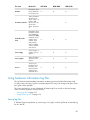
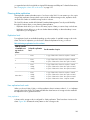
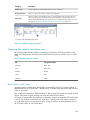
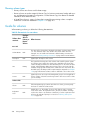
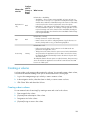
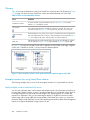
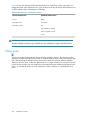
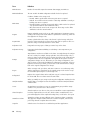
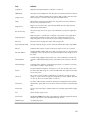
Element
Default name
Schedules to Remote Snapshot a Volume
Name_Pri.#Name_Rmt.#
Creating storage by using the Getting Started Launch Pad
Follow the steps in this section to set up a volume quickly. Using the wizards on the Getting Started
Launch Pad, you will work through these steps with one storage node, and with one strategy. The rest
of this product guide describes other methods to create storage, as well as detailed information on
features of the iSCSI SAN.
Prerequisites
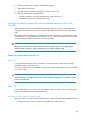
• Install the storage nodes on your network.
• Know the IP address or host name you configured with the KVM or serial Configuration Interface
when you installed the storage node.
• Install the HP LeftHand Centralized Management Console software on a management workstation
or server that can connect to the storage nodes on the network.
• Install an iSCSI initiator on the application server(s), such as the latest version of the Microsoft
iSCSI initiator.
NOTE:
The HP LeftHand DSM for MPIO is the only supported multi-path solution for the HP LeftHand Storage
Solution. Starting with SAN/iQ software release 7.0, you must install the Microsoft MPIO DSM if you
want to use the HP LeftHand DSM for MPIO
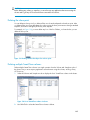
Finding the storage nodes
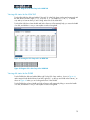
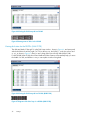
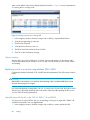
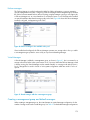
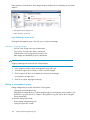
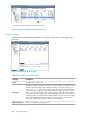
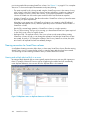
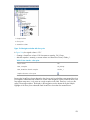
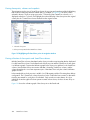
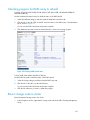
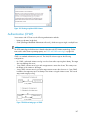
Open the CMC, and using the Getting Started Launch Pad, start the Find Nodes Wizard.
To use the wizard, you need to know either the
• The subnet and mask of your storage network or
• The IP addresses or host names of the storage nodes
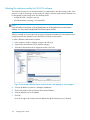
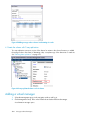
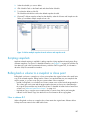
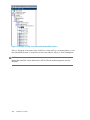
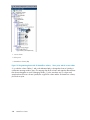
When you have found the storage nodes, they appear in the Available Nodes pool in the navigation
window.
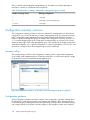
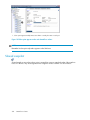
Configuring storage nodes
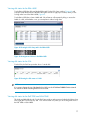
Configure the storage node next. If you plan to use multiple storage nodes, they must all be configured
before you use them for clustered storage.
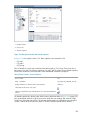
The most important categories to configure are:
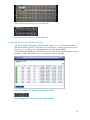
• RAID—The storage node is shipped with RAID already configured and operational. Find instructions
for ensuring that drives in the storage node are properly configured and operating in Chapter
3 on page 55.
• TCP/IP Network—Bond the NIC interfaces and set the frame size, NIC flow control, and speed
and duplex settings. Read detailed network configuration instructions in Chapter 4 on page 89.
37