1
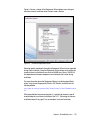
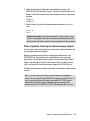
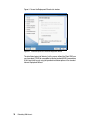
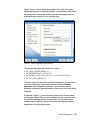
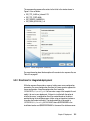
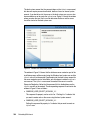
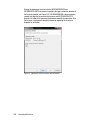
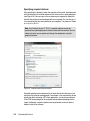
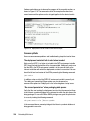
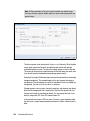
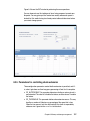
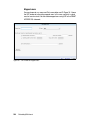
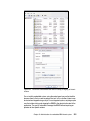
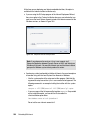
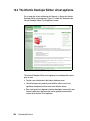
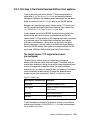
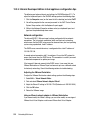
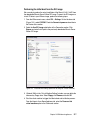
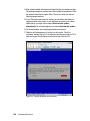
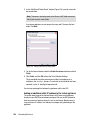
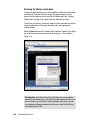
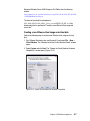
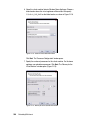
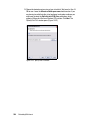
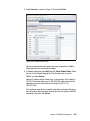
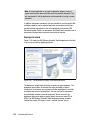
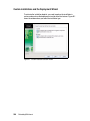
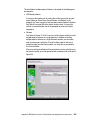
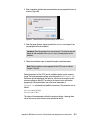
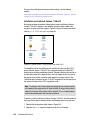
3. In the “Add Shared Folder Wizard” window (Figure 12-6), provide a name for
the shared folder.
Note: The name is also being used as the Ubuntu JeOS folder name and
the full path name to a host folder.
In our demo appliance, we use temp as the name and C:\temp as the host
folder. Click Next.
Figure 12-6 Adding a new host OS shared folder
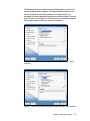
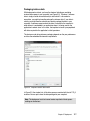
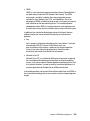
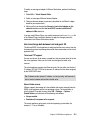
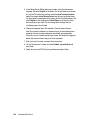
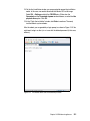
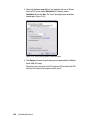
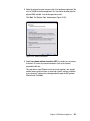
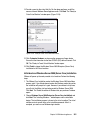
4. On the final wizard window, check the Enable this share check box and click
Finish.
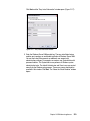
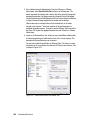
5. Click Finish, and click OK to leave the Virtual Machine Settings.
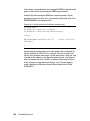
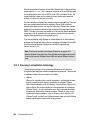
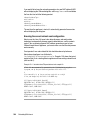
The shared folder should be mounted and visible in the appliance as a
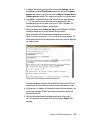
subfolder in the /mnt/hgfs directory. To verify that the shared folder has been
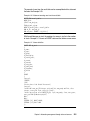
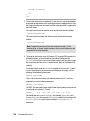
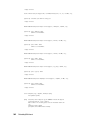
mounted, run the ls /mnt/hgfs/temp command.
You can now exchange files between the appliance and the host OS.
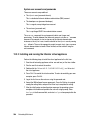
Adding an additional static IP address to the virtual appliance
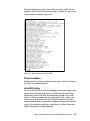
The current base image of the Informix/Ubuntu JeOS demo virtual appliance
already has one DHCP-based network configured. We use the NAT protocol to
allow easy access of external networks, such as the Internet. Because we are
using a dynamic IP address, that address can change during the bootup of the
appliance.
324
Embedding IBM Informix