1
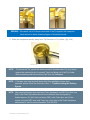
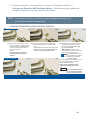
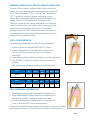
Alternatively, a bottom-up technique can be used in which the
laser is fired only when moving the tip coronally. The protocol is
optimized for safety and efficacy using either one of the
techniques.
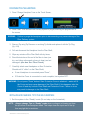
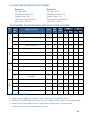
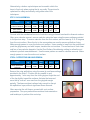
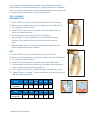
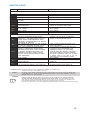
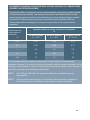
STEP 3: CALCULUS REMOVAL
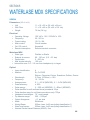
Step 3
Tip
Calculus Removal RFPT5-14
Root Surface
Smoothening
RFPT5-14
Power
Pulse
Rate
Air
Water
Mode
1.5W
30 Hz
11%
20%
H
1.5W
50 Hz
11%
20%
H
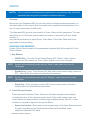
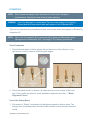
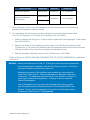
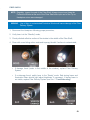
Proceed with the mechanical removal of calculus using preferred hand and/or ultrasonic scalers.
After gross calculus removal, remove calculus using the laser using the same settings provided
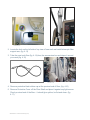
in the previous step. To remove calculus from the root surface, aim the laser tip 5 to 15 degrees
from the root surface. Move the tip in the same pattern as used to remove epithelium lining.
Make enough passes to cover the entire root surface. Use a curette to insert into the pocket and
push the gingiva away and with loupes, visualize the root surface. The surface has to look clean
and free of any calculus deposits. Use the Root Surface Smoothening setting to refine the root
surface to promote new attachment. Use the same pattern as used for calculus removal. Make
enough passes to cover the entire root surface.
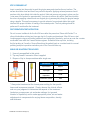
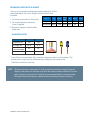
STEP 4: OUTER EPITHELIUM LINING REMOVAL
Step 4
Tip
Power
Air
Water
Mode
Outer Epithelium
Removal
Pulse
Rate
RFPT5-14
1.5W
30 Hz
11%
20%
H
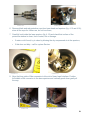
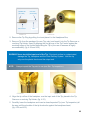
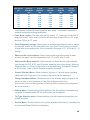
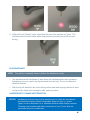
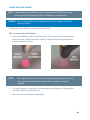
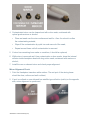
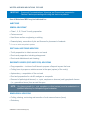
Remove the outer epithelium using the same tip and laser settings
provided in the Step 3. Position the tip parallel to and
approximately 1 mm away from the outer gingiva. Angle the end
of the tip slightly toward the surface. Activate the laser and
move the tip over a 5 mm area from the gingival margin
apically. The tissue surface is altered only enough to disrupt
the epithelium layer, without significant tissue removal.
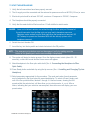
After removing the soft tissue, proceed with root surface
preparation. Use your preferred conventional instrumentation
and technique to perform this next step.
67