1
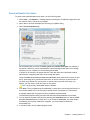
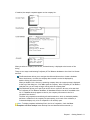
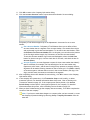
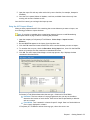
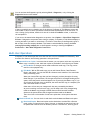
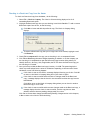
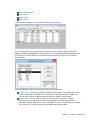
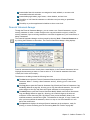
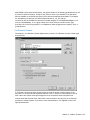
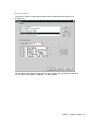
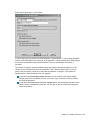
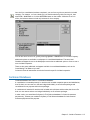
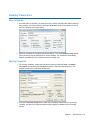
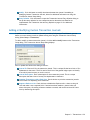
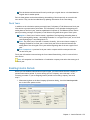
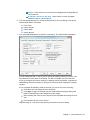
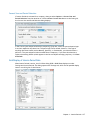
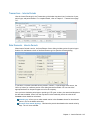
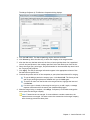
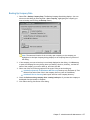
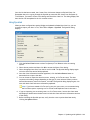
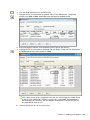
2. Click the File button in the Zip file section of the dialog. The Restore File dialog displays.
3. Navigate to the drive and directory containing the ZIP file that you want to restore.
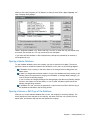
4. Highlight the pertinent ZIP file in the list. The name displays in the File name field.
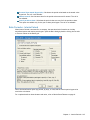
5. Click OK to return to the Restore Company Data dialog. The name and path of the file you
selected in step 4 displays next to the File button.
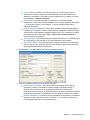
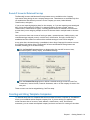
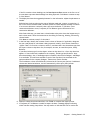
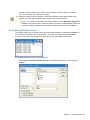
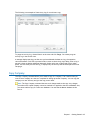
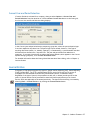
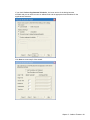
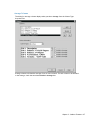
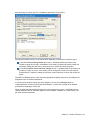
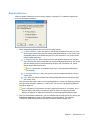
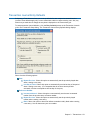
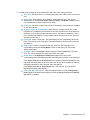
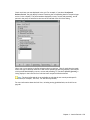
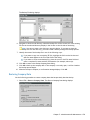
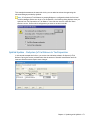
6. Click the Directory button in the Company Directory section of the dialog. The Restore
Company Path dialog displays.
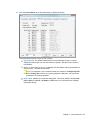
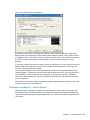
7. Navigate to the drive and directory where you want to restore the company data.
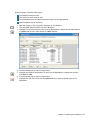
If you want to create a new directory, enter the complete path in the Directory field
(for example, c:\avision\samp\abcco).
If you want to restore the company to an existing directory, double-click the
directory in the Directories list box so that the full path displays in the Directory
field.
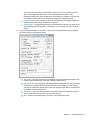
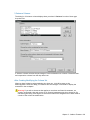
8. Click OK.
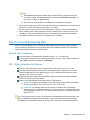
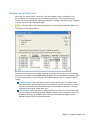
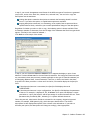
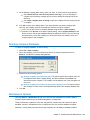
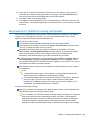
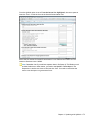
Note: If you have selected to restore the company over an existing database, a
confirmation message displays. Click Cancel to return to the Restore Company Path
dialog to identify another directory (repeating steps 7 and 8), or click OK to overwrite
the existing company.
Chapter 5 - Administration & Maintenance • 159