1
Personal Paperless Document Manager 2 – Getting Started Guide
Note:
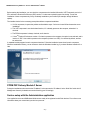
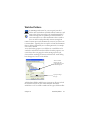
On some systems, before the setup program continues with component installation, a Windows Installer
program launches to update necessary system files. After these files are installed, a message appears
instructing you to reboot your system. When Windows restarts, the installation automatically continues.
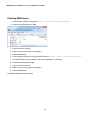
Finishing the installation
As the final step of the installation, the product gets activated silently, provided that the serial
number has been entered precisely.
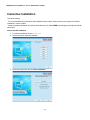
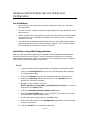
After the installation, DesktopDeliveryPSP is inactive and you must configure it for proper
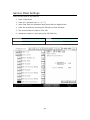
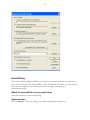
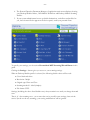
functioning. Right-click on its icon in the system tray and choose the Settings command. The
DesktopDeliveryPSP Settings dialog appears. Use this to configure the program.
DesktopDeliveryPSP is designed to monitor
n
n
n
a specified folder on a networked file server or local drive for incoming scanned images
and/or
an email inbox and/or
Multifunction Printers/Copiers using the PSP Server for Personalized MFP Scanning
functionality.
Refer to the DesktopDeliveryPSP PDF document (available from the Start Menu, under (All)
Programs > PPDM > Desktop Module 12), for information about setting up and using
DesktopDeliveryPSP.
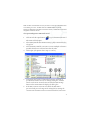
Uninstalling Personal Paperless Document Manager v2
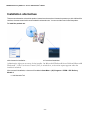
To uninstall the desktop-side components of Personal Paperless Document Manager v2, you can
use either of the following options:
n
n
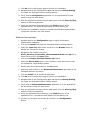
Use the uninstaller provided with the product (only available if the PPDM Desktop
Module is installed). You can do this via the Uninstall PPDM link in the Start Menu,
under (All) Programs > PPDM.
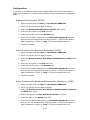
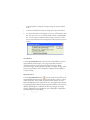
Locate and remove the components via Add/Remove Programs, preferably in the
following order:
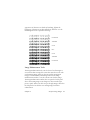
1. DesktopDeliveryPSP
2. PPDM Desktop Module
3. PaperPort Image Printer
4. RSSolo
5. PPDM OCR Module
6. PPDM PDF Converter Module
- 3 -