1
Chapter 5
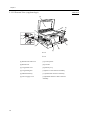
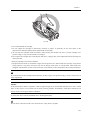
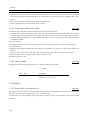
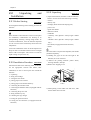
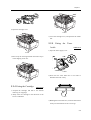
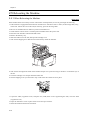
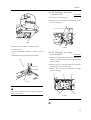
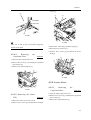
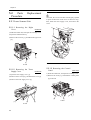
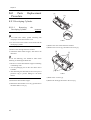
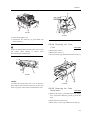
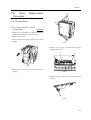
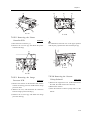
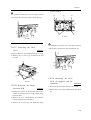
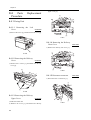
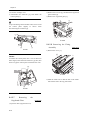
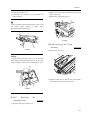
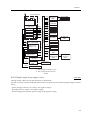
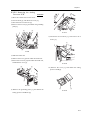
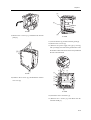
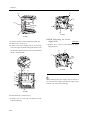
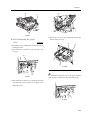
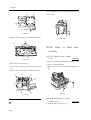
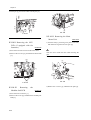
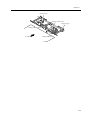
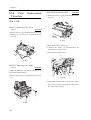
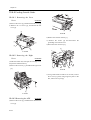
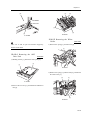
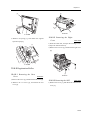
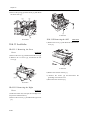
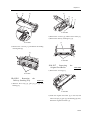
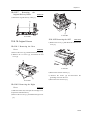
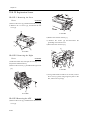
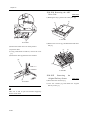
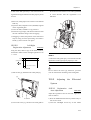
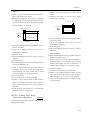
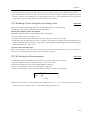
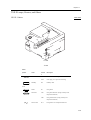
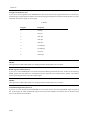
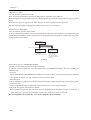
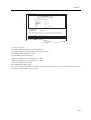
3) Close the cartridge cover.
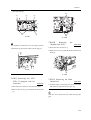
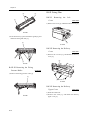
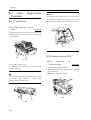
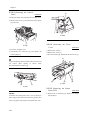
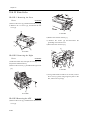
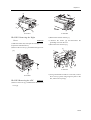
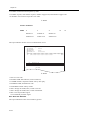
2) Remove the screw [1].
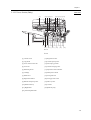
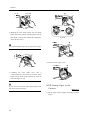
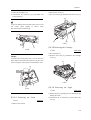
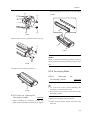
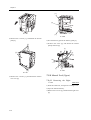
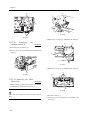
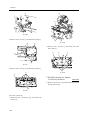
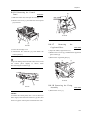
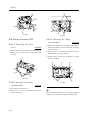
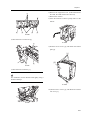
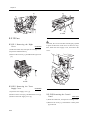
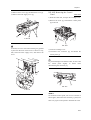
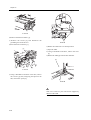
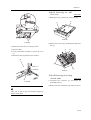
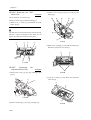
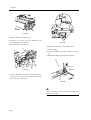
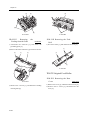
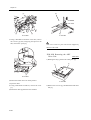
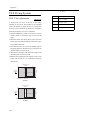
4) Disconnect the connector [2], and detach the
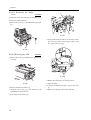
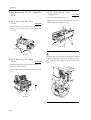
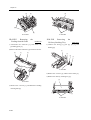
3) Free the 5 hooks [2], and detach the front cover [3].
control panel [1].
[2]
To prevent damage to the flexible cable, be sure to lift
the
control
panel
slightly
as
shown
when
disconnecting the connector [2].
[1]
[3]
[2]
F-5-8
[2]
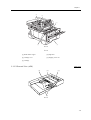
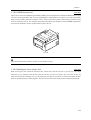
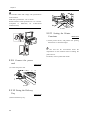
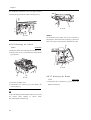
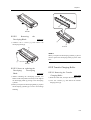
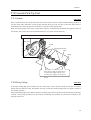
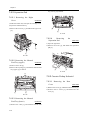
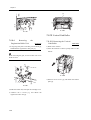
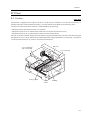
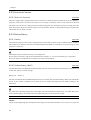
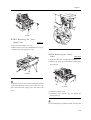
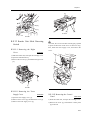
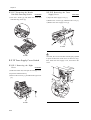
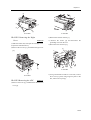
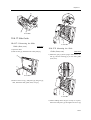
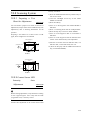
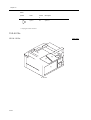
5.2.1.5 Removing the Cartridge
Cover
[1]
F-5-6
0006-3188
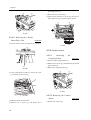
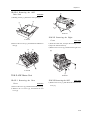
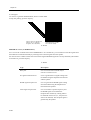
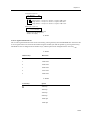
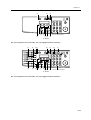
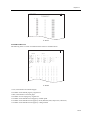
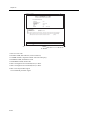
1) Free the hook [1].
2) Remove the 2 ribs [2], and detach the cartridge
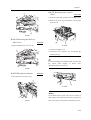
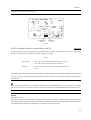
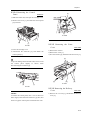
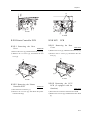
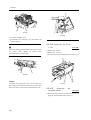
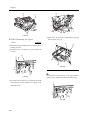
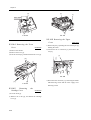
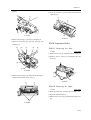
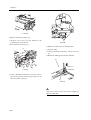
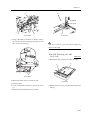
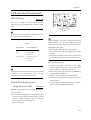
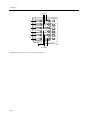
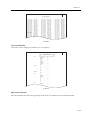
MEMO:
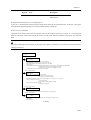
To mount the control panel, turn it over as shown in
cover [3].
below figure, and connect the connector [1]; then, turn
[3]
back over [2] the control panel to facilitate the work.
[1]
[2]
[2]
F-5-9
[1]
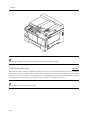
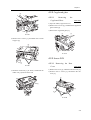
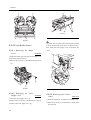
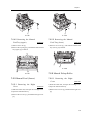
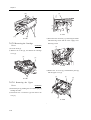
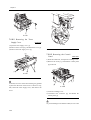
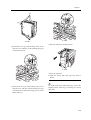
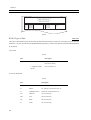
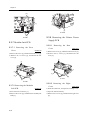
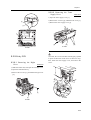
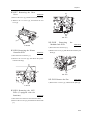
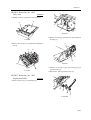
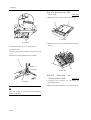
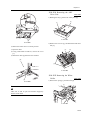
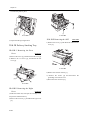
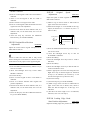
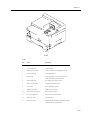
5.2.1.6 Removing the Upper
Cover
F-5-7
0006-3190
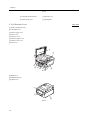
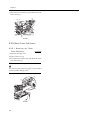
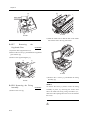
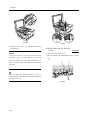
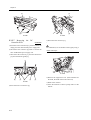
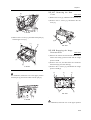
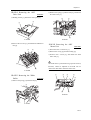
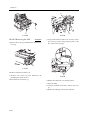
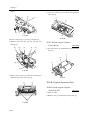
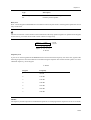
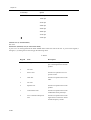
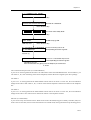
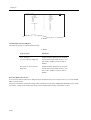
1) Detach the part [1] holding the core and the part [2]
holding the cable.
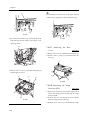
5.2.1.4 Removing the Front
Cover
2) Disconnect the 2 connectors [3] and remove the
0006-3187
core [4].
1) Remove the cassette.
5-3