1
73
CHAPTER 6
Mapping
Unmapping Procedures
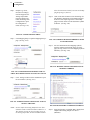
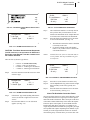
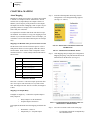
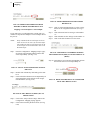
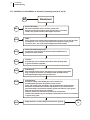
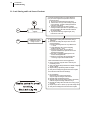
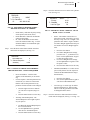
Step 1. To Unmap Items go to the Basic I/O Mapping
Menu.
Step 2. Press the up or down arrow buttons until the cursor
is in front of the Item you want to unmap. In our
example we used Tare Scale 2.
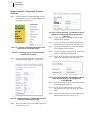
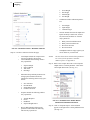
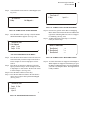
Step 3. Press the Enter button. The Item “Tare Scale 2”
Menu appears. (See fig. 6-48)
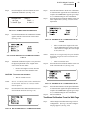
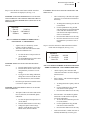
Step 4. Press the down arrow until the cursor is in front of
Item.
Step 5. Press the Enter button.
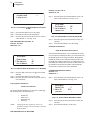
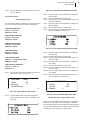
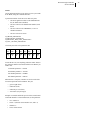
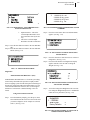
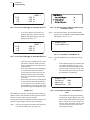
BASICI/ OMAPPING
Tar eScal e1
->
> Tar eScal e2
->
Tar eScal e3
->
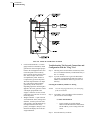
FIG. 6-52 BASIC I/O MAPPING/TARE SCALE 2
UNMAPPED
Mapping a Hardy Control-Link Network to a
ControlNet/DeviceNet/Profibus Network
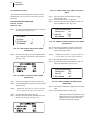
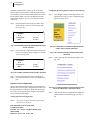
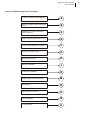
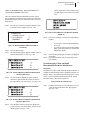
“Tar e Scal e 2”
> Map:
Input 1- >
FIG. 6-49 TARE SCALE 2/INPUT 1
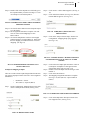
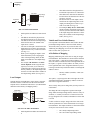
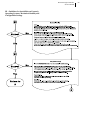
Step 6. Press the up or down arrow buttons until the cursor
is in front of Not Mapped. (See Fig. 6-49)
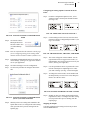
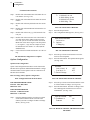
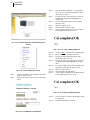
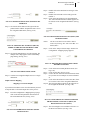
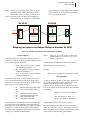
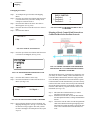
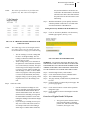
FIG. 6-53 HARDY CONTROL-LINK NETWORK
CONNECTED TO A CONTROLNET/DEVICENET/
PROFIBUS NETWORK
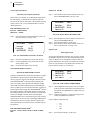
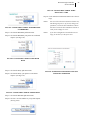
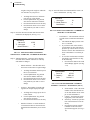
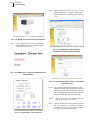
FIG. 6-50 ITEM SELECTION/SELECTING NOT
MAPPED
Step 7. Press the enter button to set the entry.
Step 8. Press the Exit button to return to the Tare Scale 2
Menu. (See Fig. 6-50)
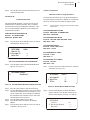
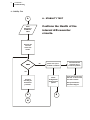
“Tar e Scal e 2”
> Map:
Not Mapped- >
FIG. 6-51 OK TO FILL MENU/ITEM UNMAPPED
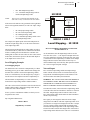
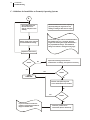
Step 9. Press on the Exit button to return to the Basic I/O
Mapping Menu appears. (See fig. 6-51) Notice that
the asterisk no longer appears. This tells you that
the item is unmapped. To unmap more items, repeat
steps 1-8
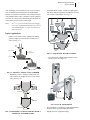
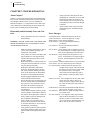
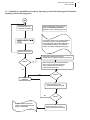
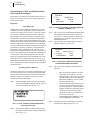
The Hardy HI 3000 Series of controllers are designed to save
you money. To connect a Hardy Control-Link Network to a
ControlNet/DeviceNet/Profibus Network simply purchase
one of the Hardy HI 3000 Series Network Interface Option
Cards and install it in the instrument that you want to directly
connect to the other network. You can map to this instrument
from all the other instruments on the Hardy Control-Link
Network, rather than buy a separate network card for each
instrument. (See Fig. 6-53)
Step 1. Determine into which Instrument you want to
install the Network option card.
Step 2. Install the network card. See the HI 3000 Installation and Operation manual, Cabling and Installation
Section.
Step 3. Connect the network cables from the designated HI
3000 Series Instrument and begin mapping to that
instrument from either the Hardy Control-Link Network or the ControlNet/DeviceNet/Profibus Network.