1
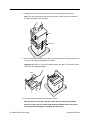
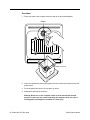
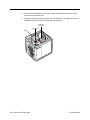
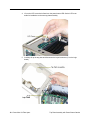
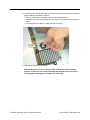
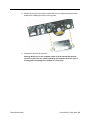
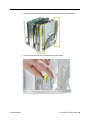
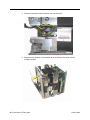
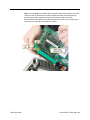
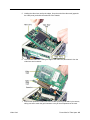
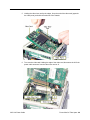
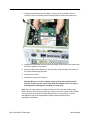
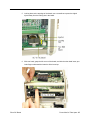
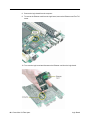
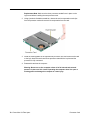
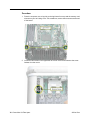
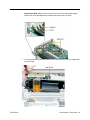
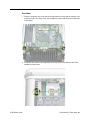
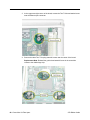
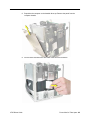
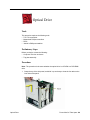
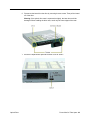
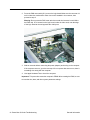
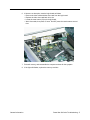
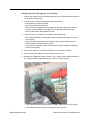
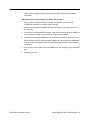
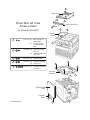
8. Install the connector board on the replacement optical drive, and secure it to the drive
with the two screws.
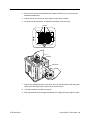
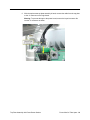
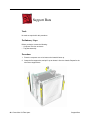
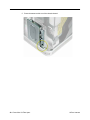
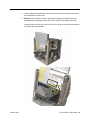
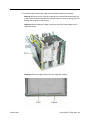
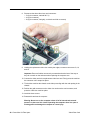
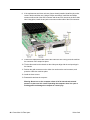
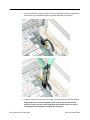
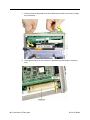
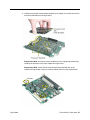
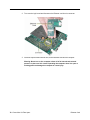
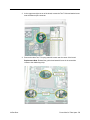
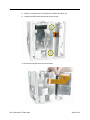
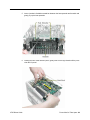
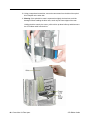
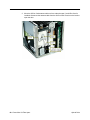
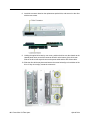
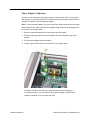
9. Holding the optical drive case by one corner, position the drive over the chassis so the
labeled panel faces out and the connector board is at the bottom of the drive case.
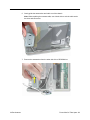
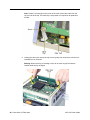
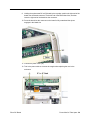
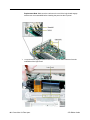
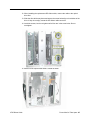
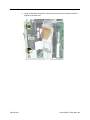
Slide in the drive half way and connect the power cable and the ATA ribbon cable.
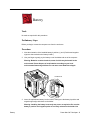
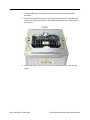
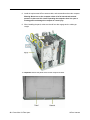
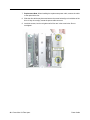
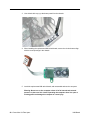
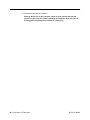
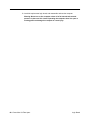
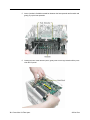
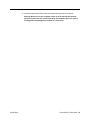
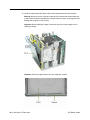
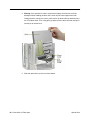
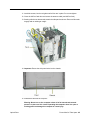
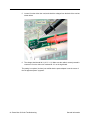
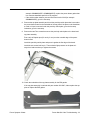
10. Slide the drive all the way down and ensure the screw holes align on both sides of the
drive. If they do not align, reseat the connectors.
94 - Power Mac G4 Take Apart
Optical Drive