1
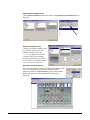
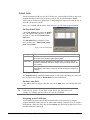
Defining the Image file location
NeoComposite imports the images used for your production in two different ways. The
original high-res image file can be imported to the job file, meaning that the external files
are no longer required by NeoComposite. Alternately, images can be imported with a
reference to the high resolution image. When importing images this way, a smaller screen
resolution version of the image is created for use on-screen, and all corrections are saved
as instructions to be applied to the original hi-res images when the jobs are printed.
If you accept the default import setting and reference the hi-res originals rather than fully
importing them, NeoComposite can record the exact location of the files when they are
imported, or you can direct it to look for the files in specific locations on your hard disk,
or over the network.
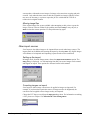
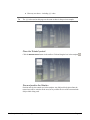
Record the original import location
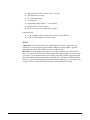
If you import images using the Remember the actual path option, there is no need to define
any default paths. See Chapter 6, Configuring NeoComposite for details.
Creating an Image directory
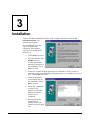
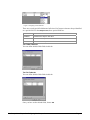
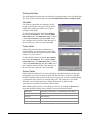
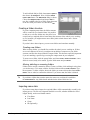
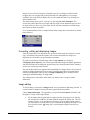
In larger labs, it is useful to set up a base image directory to store the image files. There
are several ways NeoComposite can locate the required image files #
Image Root directory
#
Same directory as job file
#
Sub-directory from job file
Image Root directory
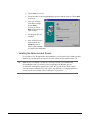
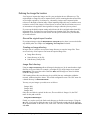
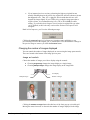
Using an image root directory allows all images belonging to a job be stored under a single
directory in its own folder. For example, you might set up a single image server named
ImageServer. This server has a drive shared as Data, and all images are stored in folders
under the \Images folder.
UNC naming allows this exact directory be specified from any workstation within the
network, without using drive letters. This avoids configuration errors. The UNC name for
a shared directory is \\Server\Share\Path.
You may set your images up on this server as follows:
\Images\Job1
\Images\Job2
\Images\Job3
Only the root folder is required. In this case, The root folder is \Images. So, the UNC
name for the path would be:
\\ImageServer\Data\Images\
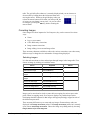
Finally, we need to specify the final search directory to find the source images. Using the
@+ code, NeoComposite adds the name of the .TNJ file to the search path as the final part
of the path statement. In the above case, each of the .TNJ files would be named Job1, Job2
and Job3.
NeoComposite – Chapter 6 – Configuring NeoComposite
Page 32