1
A.2 Setting ID or IP number
A.2.1 ID number setting
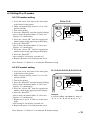
ID No.: D2 D1
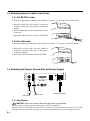
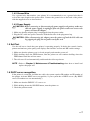
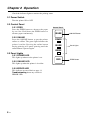
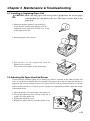
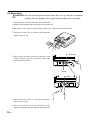
1. Loose the screw and remove the metal plate
at the bottom of the printer.
2. Make sure that the Dip switch 2-4 is in “Off”
positon (Set ID).
3. Turn on the printer.
4. Press the “Enter SW” until the display blinking.
(after a while, the printer blinks “0” twice and
displays “0” continuously)
5. Press the “Select SW” until the appropriate
number (upper digit) appearing on the display.
6. Press the “Enter SW”.
(after a while, the printer blinks “0” twice and
displays “0” continuously)
7. Press the “Select SW” until the appropriate
number (lower digit) appearing on the display.
8. Press the “Enter SW”.
(after setting D1, the display is turned off.)
9. Replace the metal cover and fasten the screw.
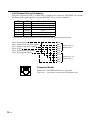
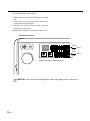
Enter SW
Select SW
Display
DIP SW 2-4
Note: Perform “1-5 Self test” to confirm the ID number setting.
A.2.2 IP number setting
IP : D12D11D10D9 D8 D7 D6 D5 D4 D3 D2 D1
1. Loose the screw and remove the metal plate
at the bottom of the printer.
2. Make sure that the Dip switch 2-4 is in “On”
positon (Set IP).
3. Turn on the printer.
4. Press the “Enter SW” until the display blinking.
(after a while, the printer blinks “0” twice and
displays “0” continuously)
5. Press the “Select SW” until the appropriate
number (10-th digit) appearing on the display.
6. Press the “Enter SW”.
(after a while, the printer blinks “0” twice and
displays “0” continuously)
7. Repeat step 5. and 6, 11-times to set the lower
digits.
(after setting D1, the display is turned off.)
8. Replace the metal cover and fasten the screw.
Enter SW
Select SW
Display
DIP SW 2-4
Example:
In case of setting “192.168.0.15”, enter “1”,
“9”, “2”, “1”, “6”, “8“, “0”, “0”, “0”, “0”, “1”, “5”.
Note: Perform “1-5 Self test” to confirm the IP number setting.
— 19