1
6.2. Installing TIS-Web Automatic Upload
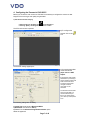
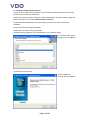
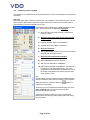
1) Close all running applications, particularly any active antivirus software because this could cause
problems when it scans the installation file.
2) Switch to the drive and folder in which the program components of TIS-Web Automatic Upload are
saved and double-click on the file “TIS-Web Automatic Upload.exe”.
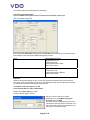
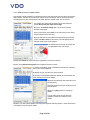
The User Account Control dialogue box opens asking you whether you want to continue the
installation.
3) Confirm the security message with [Allow].
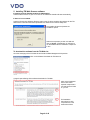
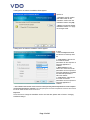
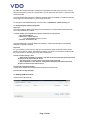
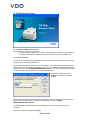
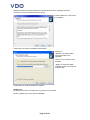
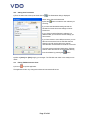
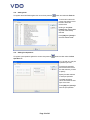
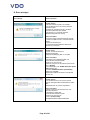
A dialogue box to select the language appears.
The default language depends on the default setting in your operating system.
4) If necessary select another
language and click on [Next >].
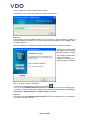
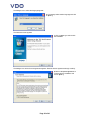
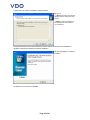
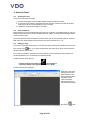
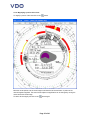
The Welcome screen appears.
5) Click on [Next >] to
continue with the installation.
Page 11 of 40