1
RAIDWatch User’s Manual
NOTE:
Adding a spare drive can be done automatically by selecting the RAID
1+Spare, RAID 3+Spare, RAID 5+Spare or RAID 6+Spare option
from the logical drive RAID Level selection dialog box when creating
a logical drive. These options apply to RAID 1, RAID 3, RAID 5 and
RAID 6 levels respectively.
9.2.5.1.
Accessing the Spare Drive Management
Screen
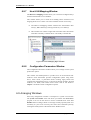
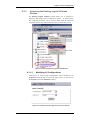
To open the Spare Drive Management screen, please follow these steps:
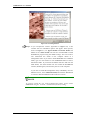
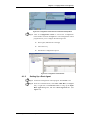
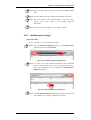
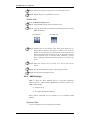
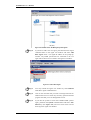
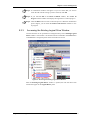
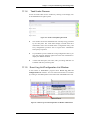
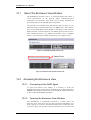
Step 1. Select the logical drive to which you wish to add a dedicated
spare from the list of the logical drives above. In the Functions
window, click the Add Disk tab. The functional window is
accessed from the Existing Logical Drives window as shown in
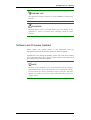
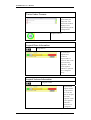
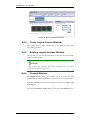
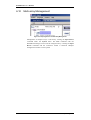
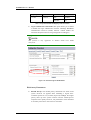
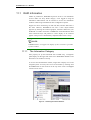
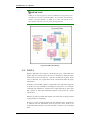
Figure 9-13, the Add Spare button appears next to the Add Disk
button.
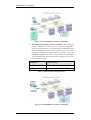
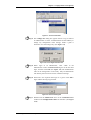
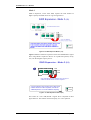
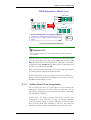
Figure 9-13: The “Add Spare Drive” Button
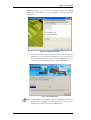
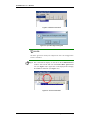
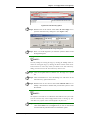
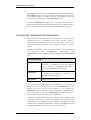
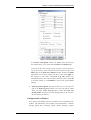
Step 2. From the Front View window, select the disk drive you want to
use as a dedicated spare with a single mouse-click.
Step 3. After selecting the drive that will be used as a spare, the selected
drive’s status will be displayed and you may click the Add Spare
button to complete the process.
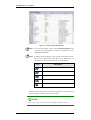
NOTE:
Spare drive assignments can also be made in the Maintenance mode
window. Note that a Global Spare cannot be added in the Existing
Logical Drives window.
9-16
Logical Drive Management