1
R&S®Pulse Sequencer
Emulating Emitters
How to Create and Configure Emitters
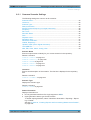
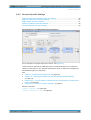
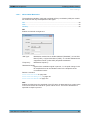
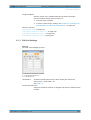
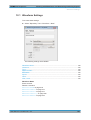
For description of the provided settings, see chapter 11.1, "Emitter Settings",
on page 180.
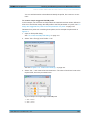
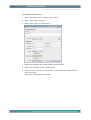
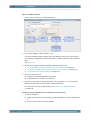
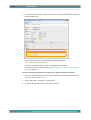
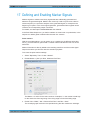
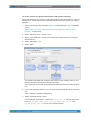
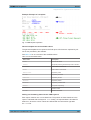
To configure an emitter in a scenario with static receiver
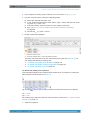
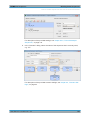
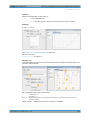
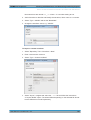
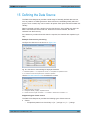
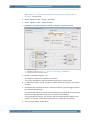
1. Create a new "Single Emitter" scenario or open an existing one, e.g. "SimpleEmitterScenario".
See for example "To create a single pulse train scenario" on page 64.
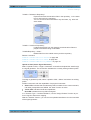
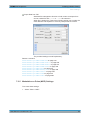
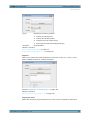
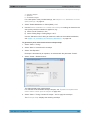
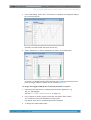
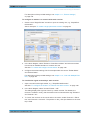
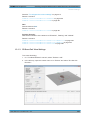
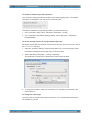
2. In the block diagram, select "Emitters > Data Source Menu" and select an emitter
from the list of available emitters or create a new one.
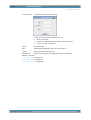
See also "To create and configure a new emitter" on page 186.
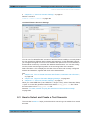
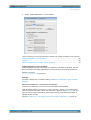
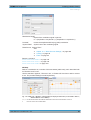
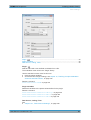
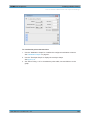
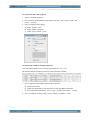
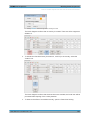
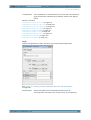
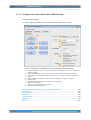
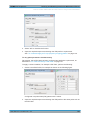
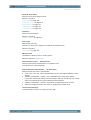
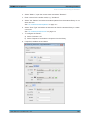
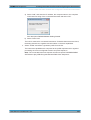
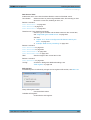
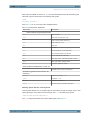
3. Configure the emitter settings, like for example select the current "Emitter Mode"
and "Emitter Beam".
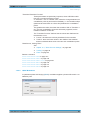
For description of the provided settings, see chapter 11.3, "Lists with Multiple Emitters", on page 185.
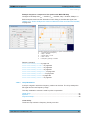
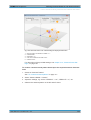
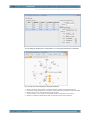
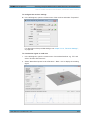
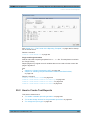
To visualize the signal received by a static receiver
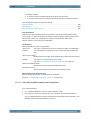
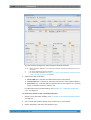
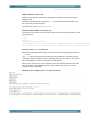
1. Open a scenario with single emitter, e.g. "SimpleEmitterScenario".
See also "To configure an emitter in a scenario with static receiver" on page 188.
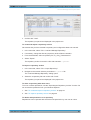
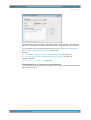
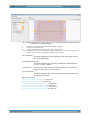
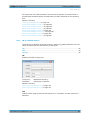
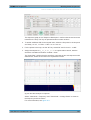
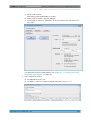
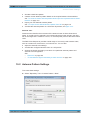
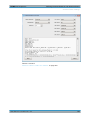
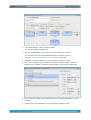
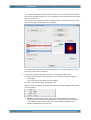
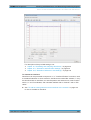
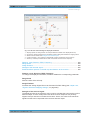
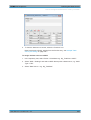
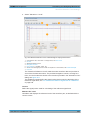
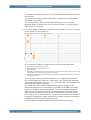
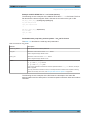
2. In the block diagram, select "Current Emitter > 3D".
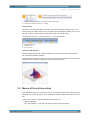
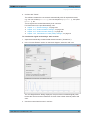
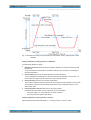
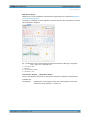
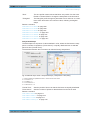
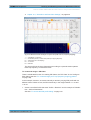
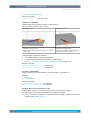
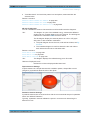
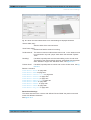
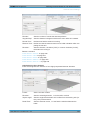
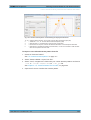
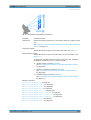
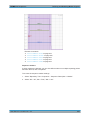
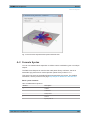
The dialog displays the signal as "seen" by a static receiver. Per default, the
receiver is located in a way, that the emitter scan is oriented with 0 deg "Elevation"
and "Azimuth" at it.
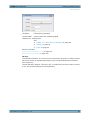
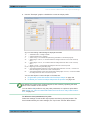
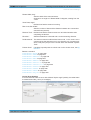
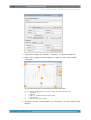
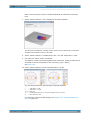
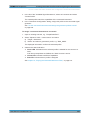
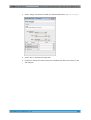
3. To "move" the receiver on the x-axis and on the z-axis, enable "Scenario > Elevation" and "Scenario > Azimuth". The position on the y-axis (the distance to the emitter) is fixed.
User Manual 1176.9512.02 ─ 03
188