1
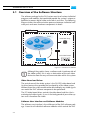
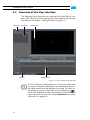
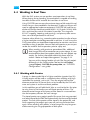
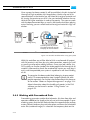
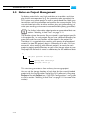
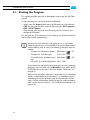
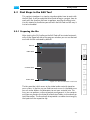
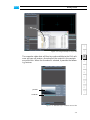
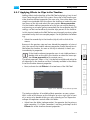
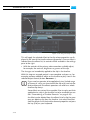
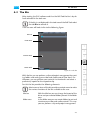
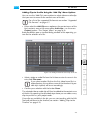
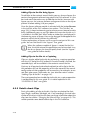
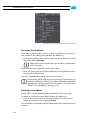
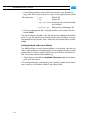
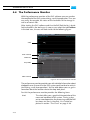
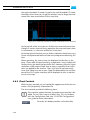
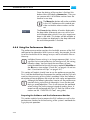
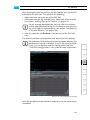
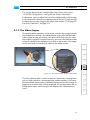
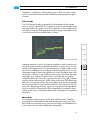
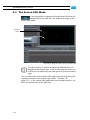
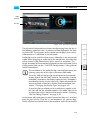
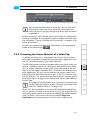
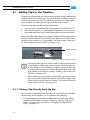
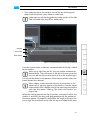
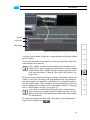
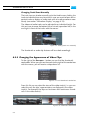
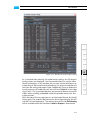
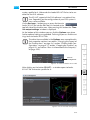
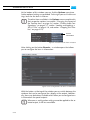
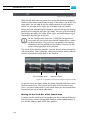
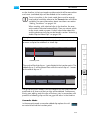
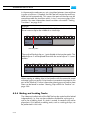
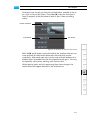
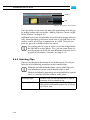
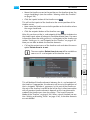
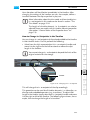
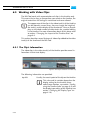
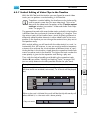
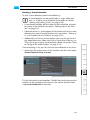
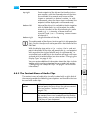
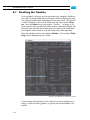
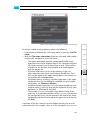
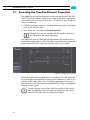
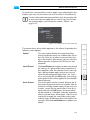
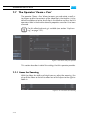
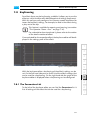
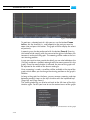
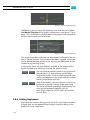
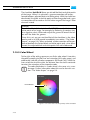
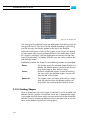
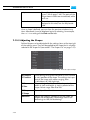
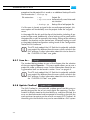
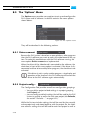
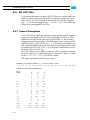
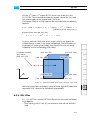
CLIPSTER Edit Tool User Guide
6.1 Adding Clips to the Timeline
To begin an editing work you have to drag the clips to the video and/or
audio tracks of the timeline first. You can add clips of different formats
to the timeline because the DVS software works format independent
and is capable of handling even high-resolution film material.
There are two ways to add a clip to the timeline:
1.
2.
You can take a clip directly from the contents area of the bin, or
you can configure its in- and outpoint beforehand via the sourceedit mode and then drag it from the control area to the timeline.
Both ways will be described in this section. Afterwards the length of the
timeline will be indicated in the field directly below the timeline scale
(length of the timeline’s in- and outpoint, see also section “Setting an
In- and Outpoint for the Timeline” on page 6-32):
timeline length
Figure 6-1: Timeline length indicator
During the adding of clips to the timeline, the clip will be visible
in the video or audio track of the timeline and it will react to
certain elements of the timeline (snapping mode) to allow for
an automated positioning. Further information about the snapping mode can be found in section “Moving Clips within the
Timeline” on page 6-38.
When adding or moving clips in the timeline, you have to heed
the current insert/overwrite mode of the timeline. More information on this can be found in section “The Insert/Overwrite
Mode of the Timeline” on page 6-34.
6.1.1 Taking a Clip Directly from the Bin
You can take a clip directly from the contents area of the bin and add it
to the tracks of the timeline. For this perform the following:
y If required prepare the clip to be added to the timeline for editing
purposes as described in section “Preparing Clips for Editing Purposes” on page 4-20 and section “Changing the Properties of
Clips” on page 4-21.
6-2