1
Chapter 7. Steps to Provisioning Your Cloud Infrastructure
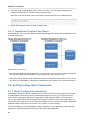
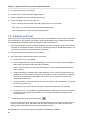
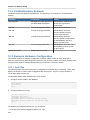
5. In Secondary Storage, click View All.
6. In Select View, choose Secondary Staging Store.
7. Click the Add NFS Secondary Staging Store button.
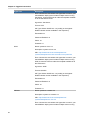
8. Fill out the dialog box fields, then click OK:
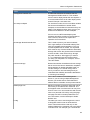
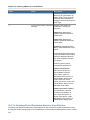
• Zone. The zone where the NFS Secondary Staging Store is to be located.
• NFS server. The name of the zone's Secondary Staging Store.
• Path. The path to the zone's Secondary Staging Store.
7.9. Initialize and Test
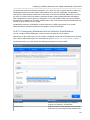
After everything is configured, CloudPlatform will perform its initialization. This can take 30 minutes or
more, depending on the speed of your network. When the initialization has completed successfully,
the administrator's Dashboard should be displayed in the CloudPlatform UI.
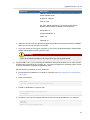
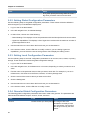
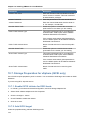
1. Verify that the system is ready. In the left navigation bar, select Templates. Click on the CentOS
5.5 (64bit) no Gui (KVM) template. Check to be sure that the status is "Download Complete." Do
not proceed to the next step until this status is displayed.
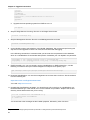
2. Go to the Instances tab, and filter by My Instances.
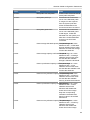
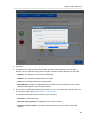
3. Click Add Instance and follow the steps in the wizard.
a. Choose the zone you just added.
b. In the template selection, choose the template to use in the VM. If this is a fresh installation,
likely only the provided CentOS template is available.
c.
Select a service offering. Be sure that the hardware you have allows starting the selected
service offering.
d. In data disk offering, if desired, add another data disk. This is a second volume that will be
available to but not mounted in the guest. For example, in Linux on XenServer you will see /
dev/xvdb in the guest after rebooting the VM. A reboot is not required if you have a PVenabled OS kernel in use.
e. In default network, choose the primary network for the guest. In a trial installation, you would
have only one option here.
f.
Optionally give your VM a name and a group. Use any descriptive text you would like.
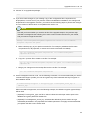
g. Click Launch VM. Your VM will be created and started. It might take some time to download
the template and complete the VM startup. You can watch the VM’s progress in the
Instances screen.
4.
To use the VM, click the View Console button.
For more information about using VMs, including instructions for how to allow incoming network
traffic to the VM, start, stop, and delete VMs, and move a VM from one host to another, see
Working With Virtual Machines in the Administrator’s Guide.
Congratulations! You have successfully completed a CloudPlatform Installation.
98