1
Getting started
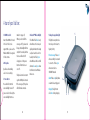
Insert your SIM card
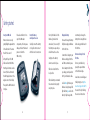
Remove the rear cover by
gently sliding the square button
in the direction of the arrow
then lift the cover off.
Please be careful not to force
any of the SIM reader
components, as this may cause
damage. It doesn’t take much
pressure to insert the
SIM correctly.
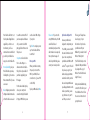
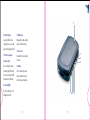
Lift up the flap of the SIM
holder and insert the SIM so
that the gold contacts are face
down. (You’ll need to match
the SIM’s angled corner to the
angled corner of the holder.)
Then push the SIM holder lock
into place.
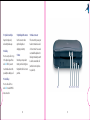
Insert the battery
and replace the cover
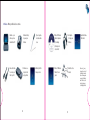
Carefully connect the battery
so the gold contacts connect
with the row of connectors on
the top left hand side of the
Xda Exec (just below the
camera lens). You can only fit
the battery one way and you
shouldn’t need to use force.
Gently press the battery
down to secure it in place.
Slide the red catch into the
Lock position.
Slide the battery cover towards
the camera lens then gently
snap into place.
4
Charge the battery
You need to charge the battery
fully before using your Xda Exec
for the first time.
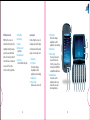
Connect the AC charger to your
Xda Exec and plug it into the
wall. We recommend you use
the AC adaptor the first time
you charge your Xda, and not
the PC synchronisation cable.
A solid amber light shows your
Xda Exec is being charged. This
light will turn green when the
battery is fully charged. We
5
recommend you charge the
battery for at least eight hours
before using your Xda Exec for
the first time.
Turn on and set up for the
first time
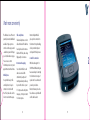
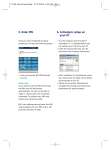
Turn on your Xda Exec by
pressing the power button
on the left-hand edge.
A welcome screen will appear.
It will prompt you to tap the
screen to set up your Pocket PC.
You can do this by following
the on-screen instructions.