1
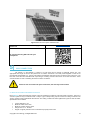
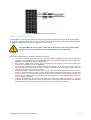
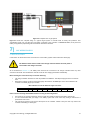
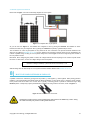
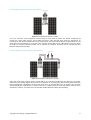
2.4 Precautions when working with solar panels With the incidence of sunlight or other light sources on all solar panels, a voltage appears at the output terminals of the solar panel turning it into a source of electricity. To avoid a shock hazard, make sure the solar panel is covered with an opaque (dark) material such as paper or cloth during the installation. Do not make contact with the terminals when the panel is exposed to sunlight or any other light source. 2.5 Precautions when working with charge controllers If two or more solar panels are connected in a series/parallel make sure that the sum of the short circuit current ratings of all panel strings does not exceed 80% of the charge controller’s current rating (i.e. 24A for the 30A charge controller). The open circuit voltage of the solar array (i.e. the maximum voltage across the array) should not exceed 26V when the 12V setting on the charge controller is used, and may not exceed 52V when the 24V setting on the charge controller is used. 2.6 Routine maintenance 3| Inspect the solar panels and make sure the surfaces are free from dust, dirt, and other debris; clean with a wet cloth or glass cleaner if necessary. Check to make sure all structural components, mechanical fasteners, and electrical connections are secure, clean, and corrosion-free. Check and maintain the battery electrolyte levels at regular intervals as per the battery manufacturer’s recommendations if flooded wet cell lead acid batteries are used. Check and replace damaged components if necessary CHARGE CONTROLLER INSTALLATION The RENOGY Starter and RV Kits come with a PWM- type charge controller to optimally charge your batteries from solar power. Each charge controller comes with a separate detailed manual. It is recommended that you read the solar charge controller manual in detail. The instructions in this section are only a brief summary of the information contained in the manual. Make sure the solar panels and batteries are disconnected from the charge controller before mounting the charge controller. 3.1 Mounting location The charge controller should ideally be located in an area relatively close to the battery and should be mounted indoors in a dry location. When mounting the charge controller, ensure free airflow through the controller heat sink. There should be at least 4 inches of clearance above and below the controller to allow cooling. If mounted in an enclosure, ventilation is highly recommended. Copyright © 2014 Renogy. All Rights Reserved. 3