1
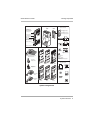
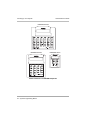
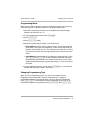
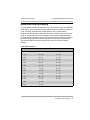
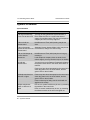
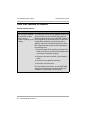
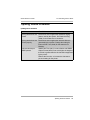
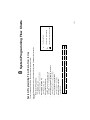
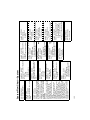
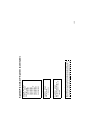
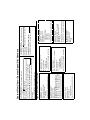
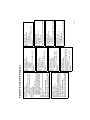
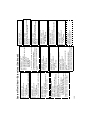
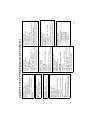
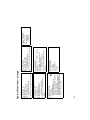
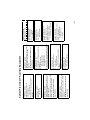
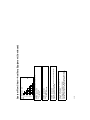
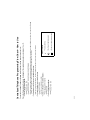
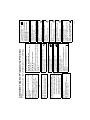
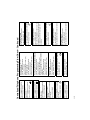
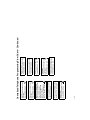
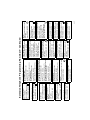
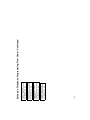
2 Installing Your System
Quick Reference Guide
Labeling Jacks
After you have mounted the control unit on the wall, you must label the line and
extension jacks. The line jacks are on the top of the modules, and the extension
jacks on the bottom.
Follow these steps to label the line and extension jacks:
1 Label the line jacks on the processor module, beginning with “1” at the top
line jack.
2 Do one of the following:
• For a 2-slot carrier, label the line jacks on the other module.
• For a 5-slot carrier, label the line jacks on the other modules by starting
with the leftmost module and ending with the rightmost module.
• Although a T1 module has only one line jack, it supports up
to 16 lines. Therefore, the line jacks on the module to the
right of a T1 module in a 5-slot carrier are numbered starting
with “22.”
• Although a 1600 DSL module has only one line jack, it
supports up to 16 lines. Therefore, the line jacks on the
module to the right of a 1600 DSL module in a 5-slot carrier
are numbered starting with “22.”
3 Label the extension jacks on the processor module, beginning with “10” at
the topmost extension jack.
4 Do one of the following:
• For a 2-slot carrier, label the extension jacks on the other module.
• For a 5-slot carrier, label the extension jacks on the other modules by
starting with the leftmost module and ending with the rightmost module.
18
Installing the Control Unit