1
Section 1-3, 1-4
more efficient means of monitoring the most wanted frequencies as you have targeted 100% what
you most want to hear, by contrast searching is very inefficient for day-to-day monitoring.
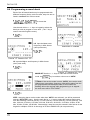
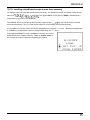
&Note: It is very important that the squelch is advanced to cancel background noise for the
search & scan facilities to operate. This is because the AR8200 believes that it has found an
active frequency when the squelch opens and “S” ‘squelch open’ legend is displayed to the left
of the signal meter. Advance the squelch control clockwise until the background noise is just
cancelled, this is known as the threshold position. If the squelch control is advanced too far,
weaker signals may be missed.
No noise and no “S” legend (with squelch advanced clockwise passed
threshold) = squelch closed.
Signal received or ‘noise’ emanating from speaker (squelch fully anti-clockwise, below
threshold) with no “S” legend = squelch open.
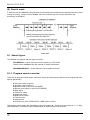
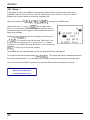
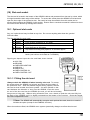
1-4 Accessories supplied
The following items are provided in the carton box:
1x
AR8200 receiver
1x
Whip aerial in BNC connector
1x
Medium Wave (MW) bar aerial
4x
AA NiCad batteries
1x
Charger (may be supplied in a separate cartons in some world market areas)
1x
Cigar adapter lead (containing internal 1A fuse)
1x
Hand strap
1x
Belt hook with two screws
1x
Operating manual (this booklet)
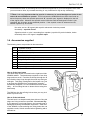
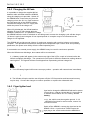
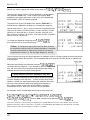
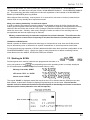
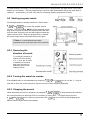
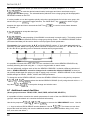
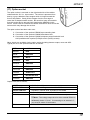
How to fit the hand strap
The hand strap anchor is located on the right hand side of the
AR8200 cabinet. The hand strap comprises of two loops, one
large and one small. Feed the small loop through the anchor
then feed the large loop through the small loop and gently pull
until tight. This strap is designed to be looped over your wrist
to prevent the AR8200 from contacting the ground if
accidentally dropped, it is not intended as a hard wearing
utility… do not swing the set or abuse the set using this
hand strap.
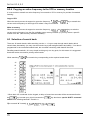
The MW bar also has a fixing hole so that you may tie it
down to prevent loss.
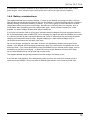
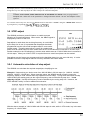
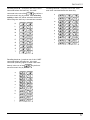
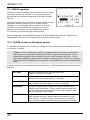
How to fit the belt hook
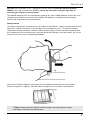
The belt hook is a shaped metal plate with two fixing holes on the top
edge, two fixing screws are provided. Do not use any other screws…
if you attempt to use longer screws, the internal parts may be permanently
damaged rendering the AR8200 inoperative. Offer the belt hook to the rear
of the AR8200, locate and align the fixing holes then carefully fit the two
supplied screws, fit both screws before tightening with a cross-head
screwdriver.
7