1
B D 3 2 USER GUIDE
Advanced Operations
TV System Selection
While you may want to set the video output system (NTSC/PAL) to the same as that supported by your TV,
realize that the Primare Blu-ray Disc Player will convert any content that is not in the correct format your
TV understands.
Some points to keep in mind:
•
When the video output is set to PAL or NTSC system, the player will convert the disc content to the
selected system.
•
When the video output is set to “Multi”, the player will not perform system conversion. The “Multi”
mode is only to be used if your TV supports both NTSC and PAL systems.
•
Some TV sets only support one of the NTSC or PAL systems. If the wrong output is selected, the TV
may not display a picture.
•
The output system can be changed between PAL and NTSC by setting the “TV System” item in the
“Video Setup” section of the player’s Setup Menu. (Refer to page 22 for details.)
Output Resolution
The Primare BD32 Blu-ray Disc Player supports multiple output resolutions. For detailed discussion on
how to choose the best output resolution, please refer to “Select the Best Output Resolution” on page 6 of
this manual.
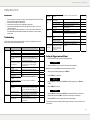
The following output resolutions are available:
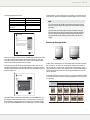
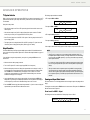
NTSC output via HDMI 1 or HDMI 2:
Auto
Auto
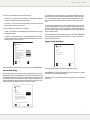
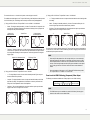
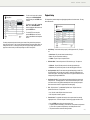
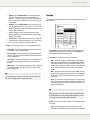
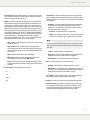
4. Use the A and V buttons to select the new output resolution. You may also press the RES button
multiple times to cycle through the available output resolutions. The new resolution is also displayed
on the front panel if you cannot see the “Resolution Setting” menu on the TV screen.
5. Press the SELECT button to apply the selected output resolution. Or, if you do not want to change the
output resolution, press and hold down the < arrow button to exit.
1080p(50Hz/24Hz)
576p
576i
1080i 50Hz
720p 50Hz
Source Direct
NTSC output via Analog (component):
1080p 60Hz*
1080i 60Hz
720p 60Hz
480p
480i
1080i 50Hz
720p 50Hz
576p
576i
PAL output via Analog (component):
1080p 50Hz*
* When 1080p is selected for the Analog output, the actual component output resolution will be 1080i.
NOTE
•
Some TV sets do not support one or more output resolutions (particularly 1080p). If an
incompatible output resolution is selected, you will get a blank screen or an error message.
In this case please press RES repeatedly to cycle through the available output resolutions
until the picture is restored.
•
If you cannot get a picture using the HDMI or component output, please connect the player
to the TV using the composite video output, then use the Setup Menu to adjust the player
settings.
•
Video up-conversion over the component output is only available for unencrypted discs
such as home video and consumer-created contents. Most commercially pressed DVD
discs are CSS-encrypted and will be limited to 480i/480p resolution. This restriction applies
to the component output only. The HDMI output is protected with HDCP and has no such
restriction.
2. Turn on the TV. Adjust the TV to use the proper input (HDMI, DVI or Component).
3. Make sure that the player is turned on. Although the output resolution can be changed “on the fly”, it
is recommended that you stop playback and take out the disc before changing the output resolution.
Press the RES button. A “Resolution Setting” menu appears on the TV screen. If the TV does
not support the current resolution and you cannot see the “Resolution Setting” menu, the current
resolution is also displayed on the front panel.
1080i 60Hz
720p 60Hz
Source Direct
PAL output via HDMI 1 or HDMI 2:
If you would like to change the output resolution, you may do so by pressing the RES button on the
remote control:
1. Make sure the video cable is properly connected.
1080p(60Hz/24Hz)
480p
480i
Zooming and Aspect Ratio Control
This feature zooms in or out of the displayed frame and also changes the aspect ratio (image width vs.
height).
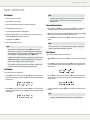
To change the zoom level, press the ZOOM button on the remote control. Each press of the ZOOM button
will switch the zoom level in sequence.
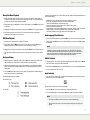
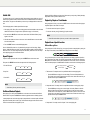
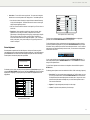
Zoom Levels for HDMI 1 Output
The following zoom levels are available when “Primary Output” is set to “HDMI 1”:
1:1 (No zooming)
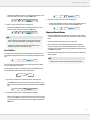
Stretch/Compress
Under Scan
1.2
1.3 1.5
2.0
½
Full Screen
Back to 1:1 again
12