1
MAXTOR SHARED STORAGE II MACINTOSH INSTALLATION
Step 2 – Power up the Drive
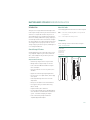
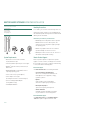
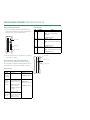
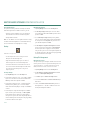
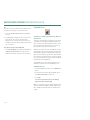
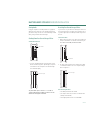
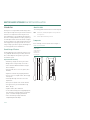
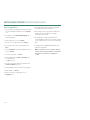
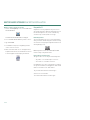
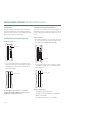
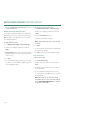
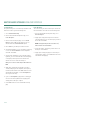
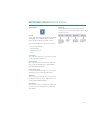
Front Panel LEDs
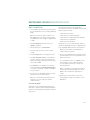
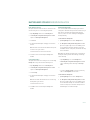
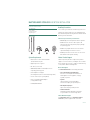
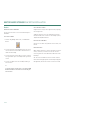
1. Press the round black button on the back panel of your
Maxtor Shared Storage Drive. The green LED (light) with
illuminate in the center of the power button.
Top
LED
Definition
Power Activity
Status
Illuminated – Power On
Blinking – Drive is either powering up or
shutting down
Not Illuminated – Power Off
Center Hard Disk Activity Illuminated – Power On
Power Button
Blinking – Data is being transferred to/from the
drive
Not Illuminated – Power Off
Activity LED
Bottom Network Activity
Illuminated – Power On
Blinking – Network communication is occurring
Ethernet LED
Not Illuminated – Power Off
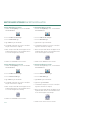
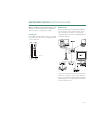
2. Your drive will now start. The startup process can take up
to one minute to complete.
Power Activity
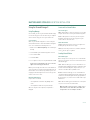
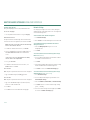
Shared Storage Drive Power/Status LED Definitions
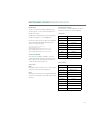
Various LED activity will appear on your Shared Storage II
Drive when power is applied. The following tables define the
meaning/status of each LED on the back and front panels:
Hard Disk Activity
Network Activity
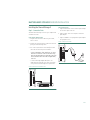
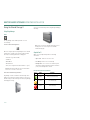
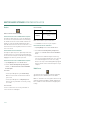
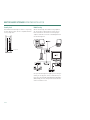
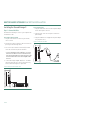
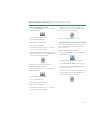
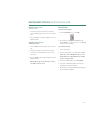
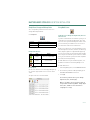
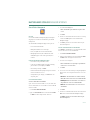
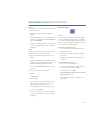
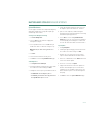
Back Panel LEDs
LED
Definition
Status
Power LED
(located in
center of the
power button)
Power switch
Illuminated – Power On
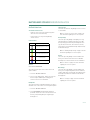
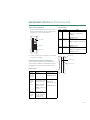
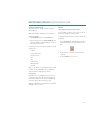
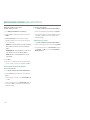
Ethernet LED
(located on
bottom side of
Ethernet
connector)
Shows if the drive is
Illuminated – Power On
connected through a 10/100 or
Blinking – Network
a 1 Gb Ethernet connection.
communication is occurring
Left Green – 10/100 Mbps
Ethernet connectivity
Not Illuminated – Power Off
Not Illuminated – Power Off
Left Amber – 1 Gbps Ethernet
connectivity
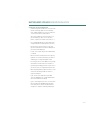
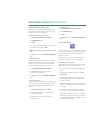
Activity LED
(located on top
side of Ethernet
connector)
A flashing Activity LED
indicates that the network
connection is functional and
that packets are being
transmitted or received.
PAGE 23