1
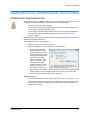
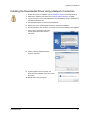
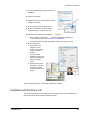
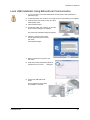
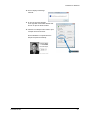
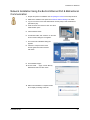
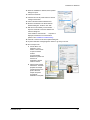
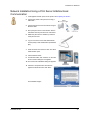
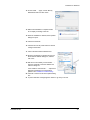
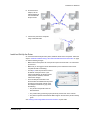
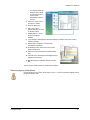
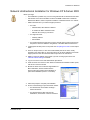
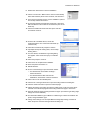
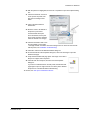
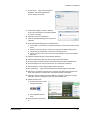
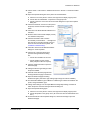
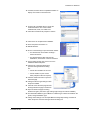
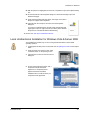
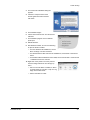
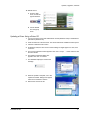
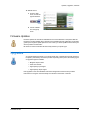
Installation on Windows
12 On the “Install . . .” page, choose "Directly
Networked Printer" and click “Next.”
13 Wait for the installation to complete and the
PC to display a message. Click OK.
14 When the installation is finished, the Properties
dialog box opens.
15 Choose the Ports tab.
16 Click the name of the printer and then click the
Configure Port button.
17 Click on the Enter Network Address box.
18 Enter the IP address (or network name) in the
Enter Network Address dialog box, and then
click “Test.”
19 Wait for the “Successfully communicated . . . “
response. Click OK to save the address and
close the dialog box.
If the “Unable to communicate . . . “ response is
displayed, troubleshoot a communication
problem. See "Installation Troubleshooting".
20 Click OK or Close to close the Properties dialog
box.
21 A “printer detected” message appears. Allow it to go away on its own.
Installation Guide
28