1
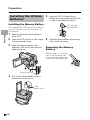
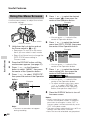
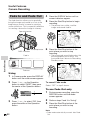
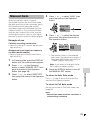
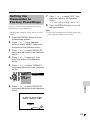
10 Press m or l to select “30” (minute),
then press the centre of the Operation
button.
SE T T I NG
2. 6 . 2 0 0 4
10 : 3 0 : 0 0
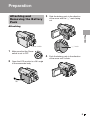
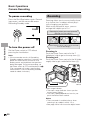
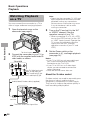
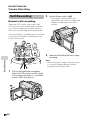
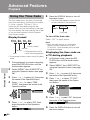
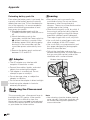
Using the Lens Cap
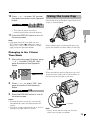
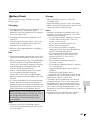
Attach the strap of the lens cap to the hand
strap as shown below.
• The internal clock now starts
operating with the seconds display.
Preparation
11 Press the DISPLAY button to turn off
the menu screen.
Note:
• If the date and time have been set, the
SETTING 1 screen (T) appears in step 4.
Select “SETTING” in the OTHERS 2 screen
(~) using the Operation button.
When attaching or removing the lens cap,
grasp the indents on both sides of the cap.
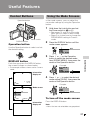
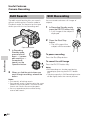
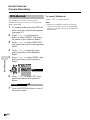
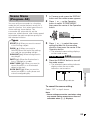
Changing to the 12-hour
Time Mode
1
After performing step 10 above, press
l or m to select “12H/24H”, then
press the centre of the Operation
button.
O T H E RS 2
T I ME C O D E
T C OUT
12H / 24H
S E T T I NG
R E T URN
2
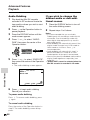
When recording, remove the lens cap and
attach the lens cap cord to the fastener so
that the cap will not get in the way.
Press l or m to select “12H”, then
press the centre of the Operation
button.
1 2 H 2 4H
3
Indents
2 4H
1 2H
1 2H
Press the DISPLAY button to turn off
the menu screen.
Notes:
• The date and time, once set, are internally
recorded even when not displayed on the
screen.
• The menu screen automatically turns off if no
settings are made within 5 minutes.
Fastener
Note:
• Always attach the lens cap over the lens
when not using the camcorder.
13