1
TrueBlend™
Maintenance and Repair
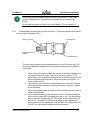
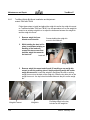
Î Installation of one load cell (both load cells in the unit follow the same
procedure.)
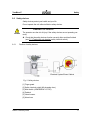
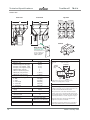
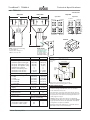
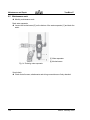
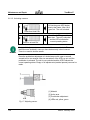
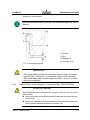
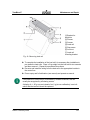
Î Position the new load cell (figure 20, item 1) note that notch on the load cell
should be facing downward. Place a small amount of removable strength
Loctite onto the two screws (figure 20, item 8) and re-attach the new load cell
to the load cell-mounting bracket (figure 20, item 11). Make sure that the load
cell is parallel with the chassis wall and load cell mounting bracket (figure 20,
item 11) and tighten to 10Nm.
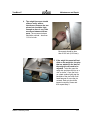
Î Re-attach the weigh bin hanger (figure 20, item 6) and install the two screws
(figure 20, item 5). The longer of the two screws should be closest the chassis
wall. Only snug the screw at this time - further adjustment needs made before
full tightening them.
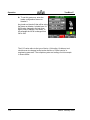
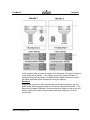
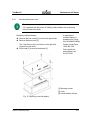
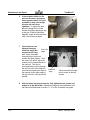
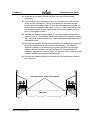
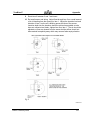
Î Re-install the weigh bin into the blender chassis and position hanger (figure 20,
item 6) so weigh bin can be removed and installed easily. The weigh bin
should be installed so it is centered in the chassis and does not contact the
weigh bin when the cylinder is at rest (see figure 21). Once satisfied with
placement, tighten the two screws (figure 20, item 5) to 10 Nm. Make sure that
nothing is twisted after installation and tightening.
Î Re-route and install the wiring from the load cell to the appropriate location in
the control box.
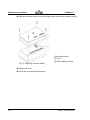
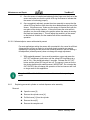
Small gap between hanger and weigh bin
Weigh Bin
Fig 21
Edition: February 2008
141