1
Chapter 4. Implementation
62
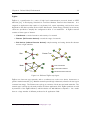
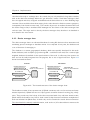
user
QGraphicsView
QGraphicsScene
key1: value1
key2: value2
receiver item
receiver item
sender item
QMultiHash
<name, receiver item*>
keyN: valueN
key1: value1
key2: value2
sender item
QMultiHash
<name, sender item*>
keyN: valueN
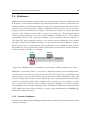
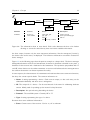
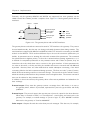
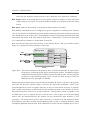
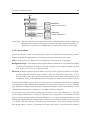
Figure 4.22.: The main elements of the visualization menu. QGraphicsView is used to display the
QGraphicsScene, which contains custom receiver and sender items for rendering. To
optimize the access time, two QMultiHash containers store pointers of the items.
4.5.3. Scene Menu
The scene menu is a class for facilitating the control over HA devices and generating scenes.
Scenes are graphical representations of namespaces and are composed of three parts:
Name: Every scene has a unique name for identification that serves as a namespace.
Background image: The background image adds additional information on the scene and enables
an intuitive arrangement of elements. All kinds of images can be used, for example a ground
plan, a photo of a room or an abstract model.
Elements: Elements represent devices within a scene and can be placed anywhere on the background image and moved by drag and drop. They are composed of their name, an icon
that shows their type and a green or red label for their current state. Each element can be
accessed by "scene_name/element_name" through by the "switch receiver/sender"-service.
Scenes usually describe locations, such as rooms or places; consequently, devices can be separated
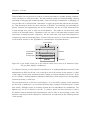
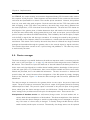
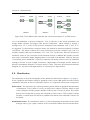
in spatial groups, which simplify the management of large networks. Figure 4.23 on the following
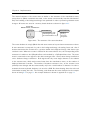
page depicts the example scene "dormitory" with three elements. Each of these elements can be
addressed by the namespace "dormitory" for example "dormitory/plug A".
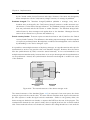
A new scene can be generated by clicking the new-button in the scene selection box. The new
scene is empty, which means it contains no elements and no background. Consequently, the first
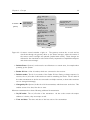
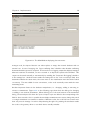
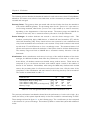
step is to select a background in the settings tab (figure 4.24 on the next page) and scale it to the
desired size. Enabling the quick buttons option will cause the element to switch on/off every time
it is clicked. The second step is to fill the scene with elements. That can be done by choosing
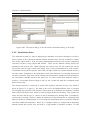
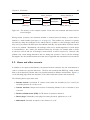
the add-tab, select a receiver or transmitter and click add to scene. The info-tab shows general