1
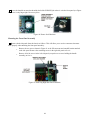
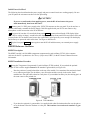
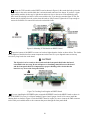
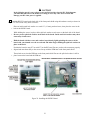
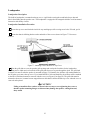
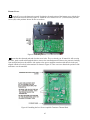
If you have the KPA3 shield installed, place three 4-40 3/16” (4.8 mm) black flat head screws (SS) through
the holes across the middle of the cover to secure it to the stiffening bar. If you have not installed the KPA3
shield, the stiffening bar is still attached to the top cover where you mounted it to measure the speaker grill cloth
for trimming. Place a 4-40 3/16” (4.8 mm) black flat head screw (SS) into each side panel to secure the ends of
the stiffening bar.
. The screws that hold the top cover in place are an important part of the structural design
that provides excellent structural rigidity in spite of its light weight. Be sure all the screws are in
place and tight whenever you replace the cover or other panels.
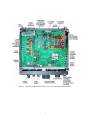
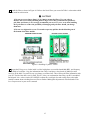
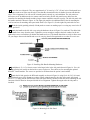
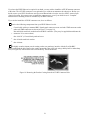
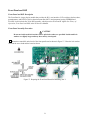
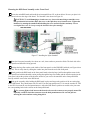
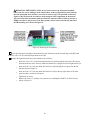
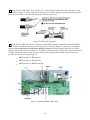
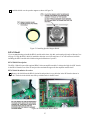
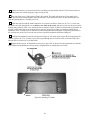
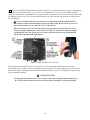
When removing the top cover in the future, the normal procedure is to remove the nine screws
on top, leaving the stiffening bar on the chassis (see Figure 95 . If the KPA3 100-watt amplifier
is installed, this is the only way the top cover can be removed because the rear shield installed
with the KPA3 attaches to the stiffening bar.
Figure 95. How to Remove the Top Cover.
This completes the assembly of your K3/10 Transceiver. Next perform the Initial Test and Calibration
procedures below to ensure your K3 is operating properly. Once they have been completed you can proceed to
install other options, including the KPA3 100-watt amplifier module, at any time. Each option is supplied with
its own installation manual.
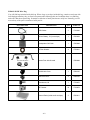
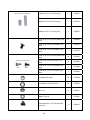
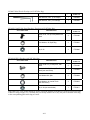
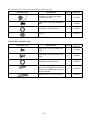
PARTS LEFT OVER?
You may find that you have extra screws, washers or nuts after completing the assembly of your
K3. This is normal. Extras of parts most easily lost during assembly are frequently included.
68