1
Transferring Images to Retouching Software
This section describes how to transfer images displayed in File Viewer Utility to the retouching
software and also describes how to make settings for image transfer.
● In order to transfer images, you will need the retouching software such as
Adobe Photoshop Elements 2.0.
● Be sure to make the image transfer settings before transferring images.
Specifying the Image Transfer Settings
Before transferring images, it is necessary to specify the retouching software to which images
will be transferred and the folder for saving the transferred images. The descriptions given
here show how to transfer images to Photoshop Elements 2.0, as an example.
1
2
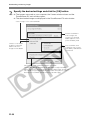
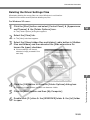
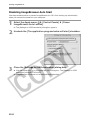
Display the [General Settings] tab sheet in the [Preferences]
dialog box. (➞M-40)
3
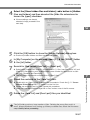
Select [Photoshop Elements 2.0] and then click the [Open]
button.
4
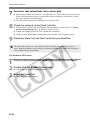
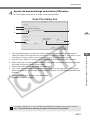
Click the [Browse] button of [Image transfer folder].
5
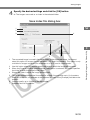
Select the folder for saving the transferred images and then click
the [Choose] button.
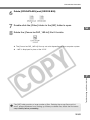
6
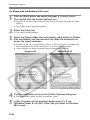
Click the [OK] button.
Click the [Browse] button of [Image Transfer Application].
\ The [Select application] dialog box
appears.
\ Photoshop Elements 2.0 is specified as the retouching software to which images will
be transferred and then the [General Settings] tab sheet appears.
\ The [Select transfer folder] dialog
box appears.
\ The folder is specified and then the [General Settings] tab sheet appears.
\ The settings are applied and the [Preferences] dialog box closes to end the
procedure.
It is not necessary to specify the retouching software to which the images will be
transferred and the folder for saving the transferred image every time unless you wish
to change those settings.
M-38