1
SuperPen Operation Manual, Version 2.34
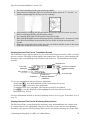
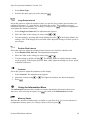
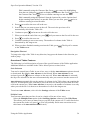
When Send Immediately is de-selected, each line you scan appears on the SuperPen display.
Press
to send the scanned text to the computer. This is the preferred setting when your
SuperPen and computer are communicating via infrared technology. When Send
Immediately is de-selected you can also:
Scan again to overwrite the current scan prior to sending.
Press
to abort the scan.
Press
to save the line and continue scanning. Press
after each line you scan. After
scanning the last line, press
to send all the scanned text to the computer at one time.
You do not need to press
to save the last line prior to sending the scan.
Note: If you save too many scanned lines, the “Can't save Text” message appears on the
SuperPen. Press
to send the scanned text to the computer, then resume scanning.
To toggle Send Immediately off or on, press
when it is on.
,
, or
. A checkmark (√) is displayed
Scanning Options
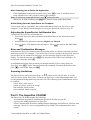
Scanning Options enable you to adjust the default scanning options. To select or de-select a
, , or . A checkmark (√) is displayed when the option is on.
scanning option, press
Select:
Numeric: For a string of numbers.
Inverse: For light text on a dark background.
About
Select this option to view information about the Scan to PC application, including the current
version number.
Exit
Select this option to exit Scan to PC.
Using the QuickLink Function
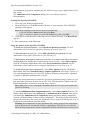
The QuickLink function on the SuperPen initiates the QuickLink process, which transfers
data between your SuperPen and computer. During quicklinking, the data in the Address
Book and Internet Links applications on your SuperPen and computer can be synchronized,
or transferred from the PC to the SuperPen, and Notes and Table files can be transferred to
the computer.
When you select QuickLink from the Main Menu, the QuickLink Desktop application
transfers data between the SuperPen and the computer for all of the QuickLink applications
on your SuperPen. The data is transferred for each application in accordance with the settings
that are defined in the QuickLink Settings window of the QuickLink Desktop. See detailed
information on how to use the QuickLink Desktop in Part 8: Using the QuickLink Desktop
Application on p. 75.
Using the QuickLink Function
62