1
Point Objects
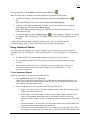
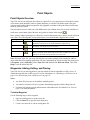
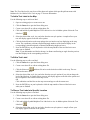
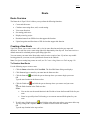
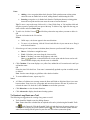
4. Click and hold the Routable Roads/Routable Trails/Waypoints/Tracks tool to view its hidden
options. Select the Waypoints tool
Selection area displays.
. The pointer displays a flag symbol and the Symbol
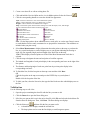
5. Select the desired waypoint symbol from the Symbols options. You may also select a different
font, style, size and color for the waypoint name.
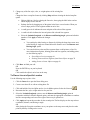
6. Select the Coordinates or use the Distance and Bearing/Angle in conjunction with the
coordinates option, and enter the appropriate coordinates or numbers into the corresponding text
boxes to the right of the font options. (See Note below.)
7. Click Apply. The waypoint displays on the map at those coordinates or distance and
bearing/angle locations.
Note : To use the Distance and Bearing/Angle option with a waypoint, you must first have a
waypoint placed on the map. The distance and bearing/angle numbers are entered in relationship
to the LAST waypoint you added to the map.
Tips :
•
While in Draw mode, you can use the Compass Rose, map edges, or Overview Map to scroll the
map.
•
When editing, moving, or deleting a waypoint, click Undo to undo the last action. If you decide
not to undo the last action, click Redo.
Symbols: Adding, Editing, and Placing
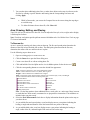
Topo USA 4.0 lets you incorporate both symbols and text in a draw file under the Draw tab. Choose a
symbol to represent a place (e.g., flag, map pin, square, etc.) and then label it with text. The text entered
becomes the symbol's name which can be used to locate the symbol in the Find tab. For more
information, see Finding a Symbol by Its Name on page 99.
To Add a Symbol
Use the following steps to add a symbol.
1. Open an existing project or create a new one.
2. Click the Draw tab to open the Draw dialog area.
3. Create a new draw file or edit an existing draw file.
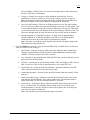
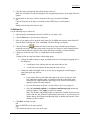
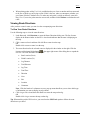
4. Click and hold the Symbol/MapNote/Text Label tool to view its hidden options. Select the
Symbol tool
. The pointer displays a flag symbol and the Symbol Selection area displays.
5. Select the desired symbol from the Symbol Selection. You may also select a different font, style,
size, and color for the symbol name.
6. Click the location for the symbol on the map and type the name or phrase into the text box which
displays next to the symbol.
Note: Press the ESC key on your keyboard to cancel the text edit.
•
The latitude and longitude of each point display in the corresponding text boxes to the
right of the line options.
•
The distance and bearing/angle of each new point from its previous point display in the
corresponding text boxes.
7. Press the ENTER key on your keyboard or click the map outside of the symbol's active area when
you are finished editing the symbol.
96