1
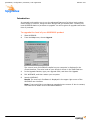
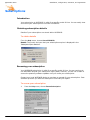
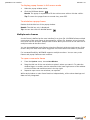
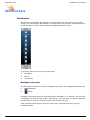
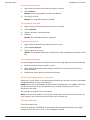
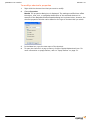
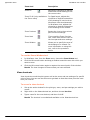
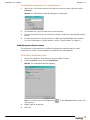
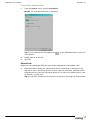
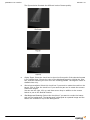
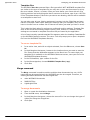
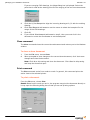
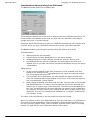
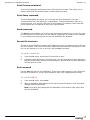
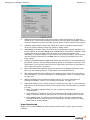
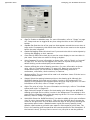
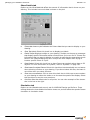
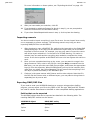
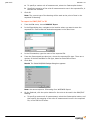
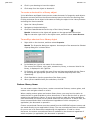
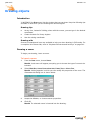
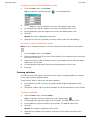
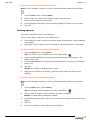
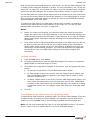
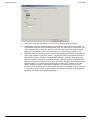
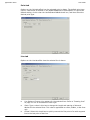
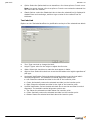
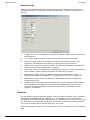
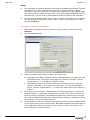
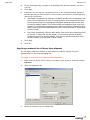
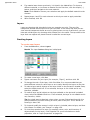
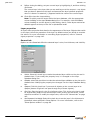
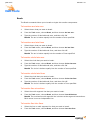
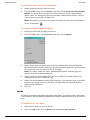
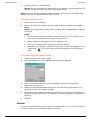
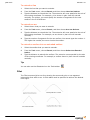
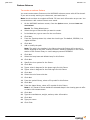
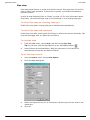
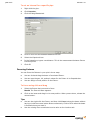
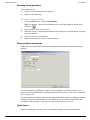
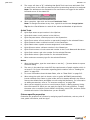
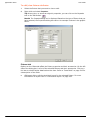
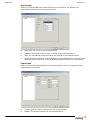
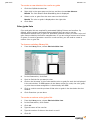
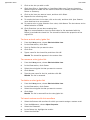
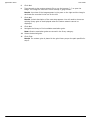
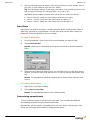
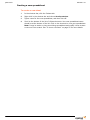
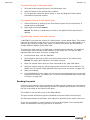
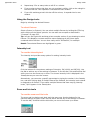
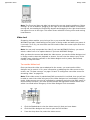
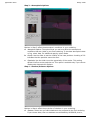
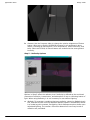
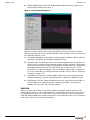
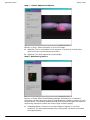
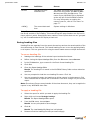
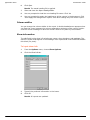
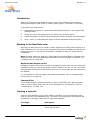
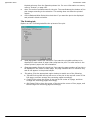
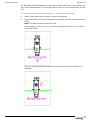
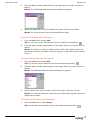
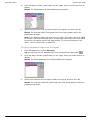
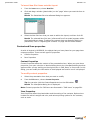
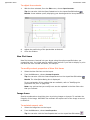
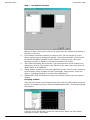
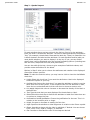
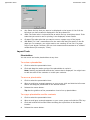
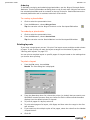
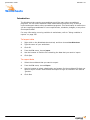
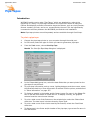
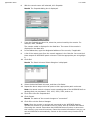
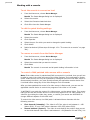
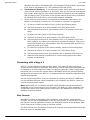
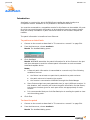
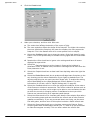
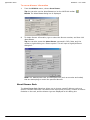
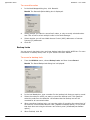
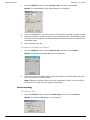
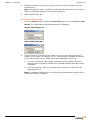
September 2005 Design mode 7 Click on the shortcut for your new look. 8 Use the design tools to create your new lighting look. You can set the color, intensity, zoom, iris, and add gobos. If you are using moving lights, you can also set the position of the lights. 9 To create the next look, in the Looks shortcut area, right-click, and then select New Look. 10 In the Name box, type the name of the new look. 11 In the Fade time box, type the fade time in seconds for this look. 12 Click OK. 13 Scroll to the bottom of the Looks shortcuts list. 14 Click on the shortcut for your new look. 15 Use the design tools to create your new lighting look. You can set the color, intensity, zoom, iris, and add gobos. If you are using moving lights, you can also set the position of the lights. 16 Ensure that the Fade looks button is enabled so the look fades instead of jumping directly to the next look. Tip: If the button is not enabled, then you can “jump” from one look to the next by clicking the look shortcuts in the shortcut bar. Even if the button is enabled, you can always jump to the next look by right-clicking the look shortcut, and selecting Jump to. 17 To watch the “fade” from the first look to the second look, click the shortcut for the second look. The image fades over the period of time that you specified for the second look. Tips: WYSIWYG Reference Guide For a more realistic view of the fading between looks, click the Shaded tab. To jump directly to a specific look, right-click the look, and then select Jump to. 239