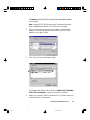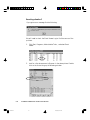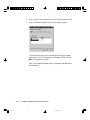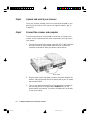
1
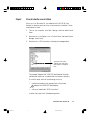
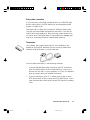
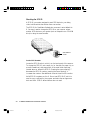
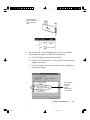
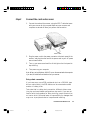
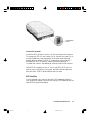
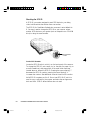
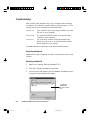
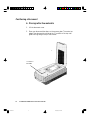
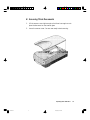
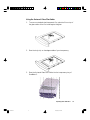
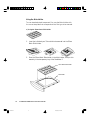
Step 4
Install scanner software
The software installation procedures is continually updated to reflect
the most current software bundles for your scanner.
For the latest information on software installation, please refer to a
document called Microtek Scanner Installation Guide, which is printed
separately and is included with your scanner package.
Step 5
Connect the scanner and computer
Before connecting the scanner to your computer, make sure the
Microtek ScanWizard is installed. Take the following steps to connect.
1. Shut down your computer.
2. Connect the card and the scanner, using the SCSI T-cable that came
with your scanner for this purpose. Make sure your scanner and
computer are turned off when you perform the connection.
SCSI T-cable
3. Plug the power cord to the power connector at the back panel of the
scanner, and plug the other end of the power cord to your AC power
source at wall outlet.
4. Turn on your scanner and wait for all the light on the front panel to
stop blinking.
5. Then power up your computer.
When running Windows, Always turn on the scanner before the
computer. If you don't Windows will not be able to “see” your
scanner.
5-4
Untitled-6
ScanMaker 5 Flatbed Color Scanner User's Manual
4
10/19/00, 5:01 PM