1
Chapter 6
The Arrange Window
251
and this can be quite confusing! Thankfully, once explained, it becomes obvious, you’ll
never forget again, and it will make all of Logic’s Flex Time features make more sense.
As we wrote above, transients refer to the characteristics of the audio file—generally
moments of peak amplitidude that are rhythmically and musically important. Therefore,
transient markers are part of the audio file, as they relate to the recorded material itself.
These markers inform the time stretching algorithms how to work their magic.
Flex markers, however, relate to the Arrange time stretching and compression feature of
Logic. So it is the Flex markers (and the Flex markers alone) that you use for stretching and
compressing your audio on the Arrange. In other words, with few exceptions, if you are
working with Flex mode in the Arrange, you’ll be working with Flex markers, and if you’re
working with audio transient markers, you’ll be working in the Sample Editor. (More on
transient markers in Chapter 7.)
You’ll see in a moment that there are a few exceptions, such as creating Flex markers from
another audio file’s transient markers or using Flex with regions that don’t have tempo
information, but the above is true in all other cases. If you’re ‘‘flexing’’ audio on the
Arrange, just worry about Flex markers.
Flexing your audio is just that simple, but there’s a lot more depth in Flex Time editing than these
simple elements. What if the transient markers don’t line up with the points in your audio you
want to flex? Let’s find out.
Creating New Flex Markers
Creating your own Flex markers, independent of the transient markers Logic has created, is every
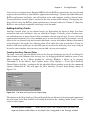
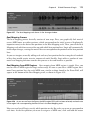
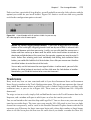
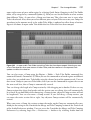
bit as easy as it was to convert a transient marker into a Flex marker. Remember that we mentioned that when the Flex marker tool is in the upper half of a Flex Time–enabled audio region
and is not near a transient marker, it is a single, vertical line? To create a single Flex marker at a
location you determine, simply move the Flex marker tool to the point in your audio where you
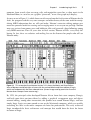
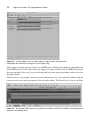
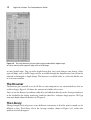
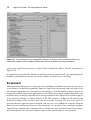
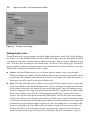
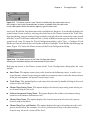
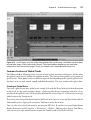
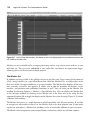
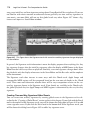
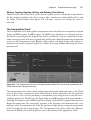
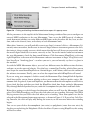
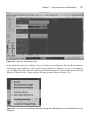
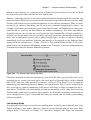
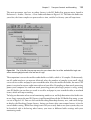
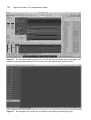
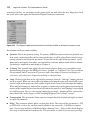
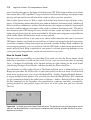
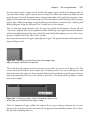
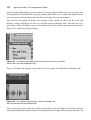
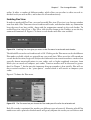
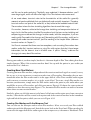
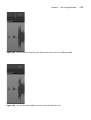
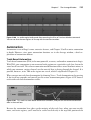
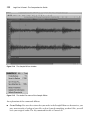
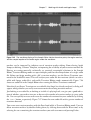
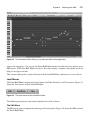
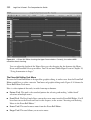
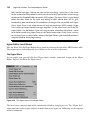
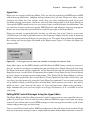
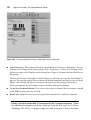
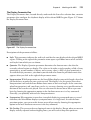
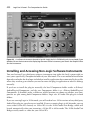
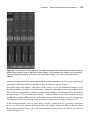
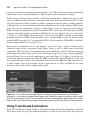
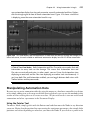
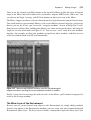
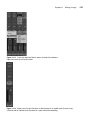
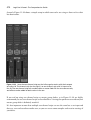
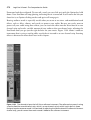
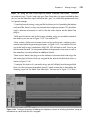
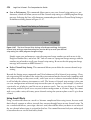
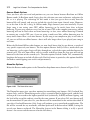
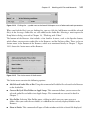
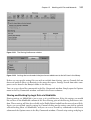
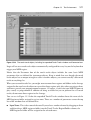
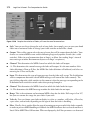
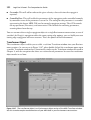
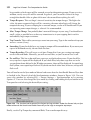
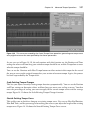
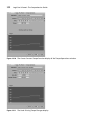
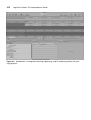
would like to create a Flex marker and click your mouse. Figure 6.83 shows the same section of
audio that we have been using since Figure 6.78a, but notice the Flex marker created in a location
where there was no transient marker.
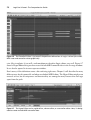
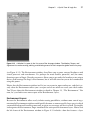
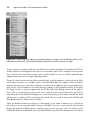
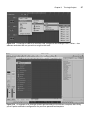
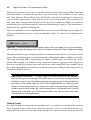
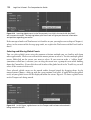
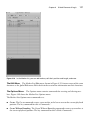
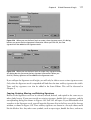
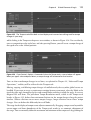
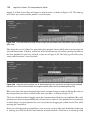
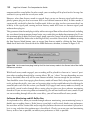
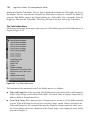
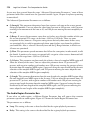
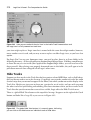
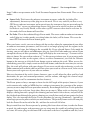
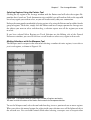
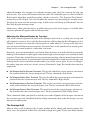
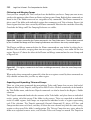
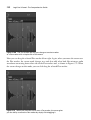
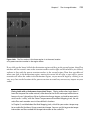
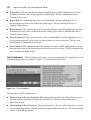
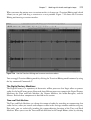
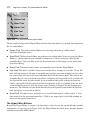
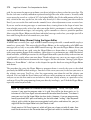
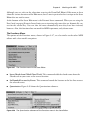
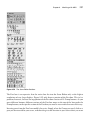
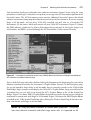
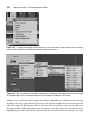
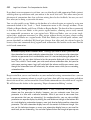
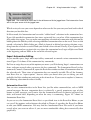
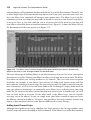
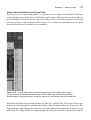
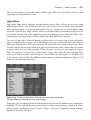
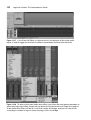
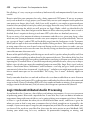
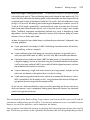
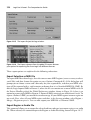
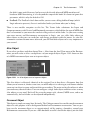
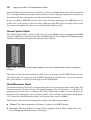
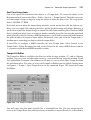
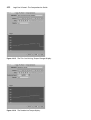
Similarly, when you click the mouse in the lower half of your audio region away from a transient
marker, a Flex marker will be created at that point and at the transient markers to the immediate
right and left of that point, which you can see in Figure 6.84.
Creating Flex Markers with the Marquee Tool
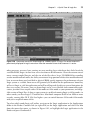
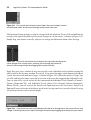
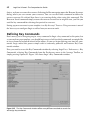
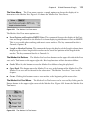
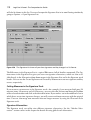
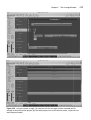
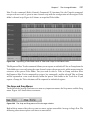
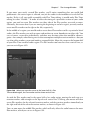
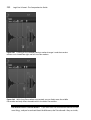
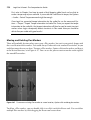
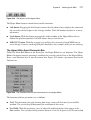
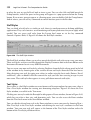
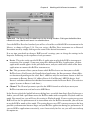
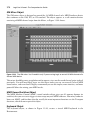
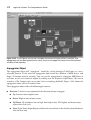
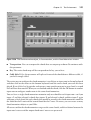
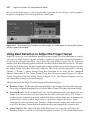
You can also use the Marquee tool to create Flex markers. Select an area of your Flex-enabled
audio region with the Marquee tool. Switch the cursor back to the Pencil tool. When you drag the
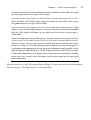
cursor over the upper half of the audio region in the marquee area, it becomes a Hand tool. Click