1
322
Logic Pro 9 Power!: The Comprehensive Guide
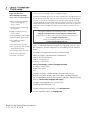
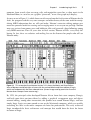
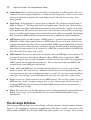
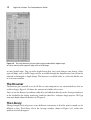
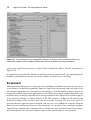
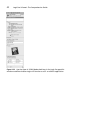
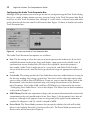
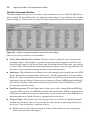
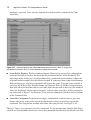
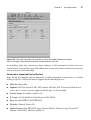
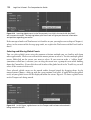
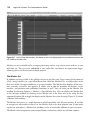
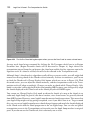
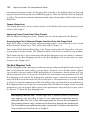
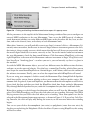
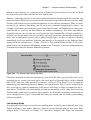
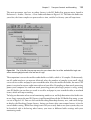
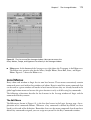
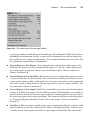
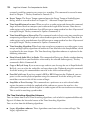
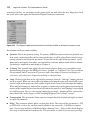
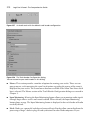
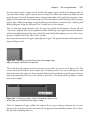
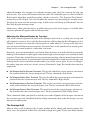
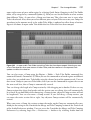
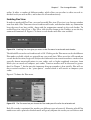
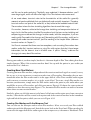
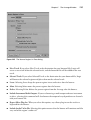
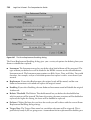
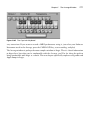
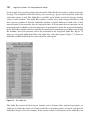
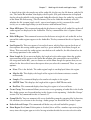
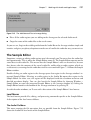
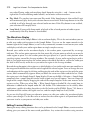
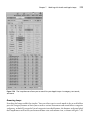
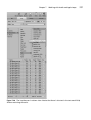
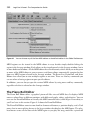
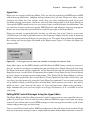
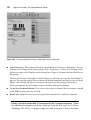
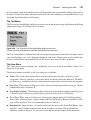
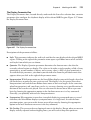
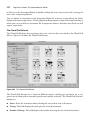
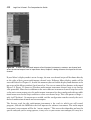
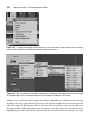
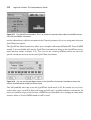
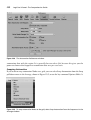
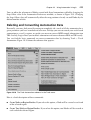
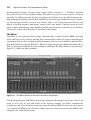
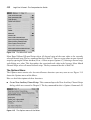
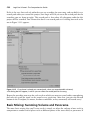
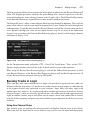
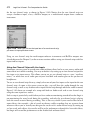
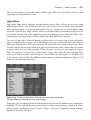
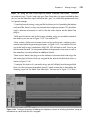
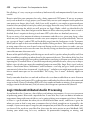
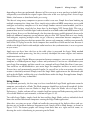
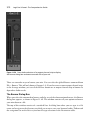
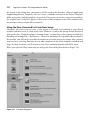
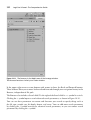
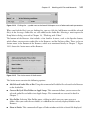
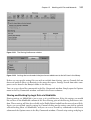
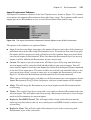
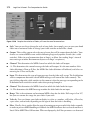
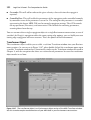
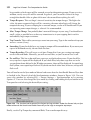
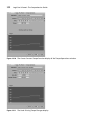
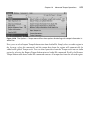
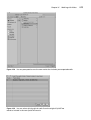
Figure 7.35 The Audio to Score dialog box.
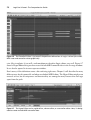
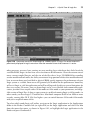
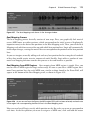
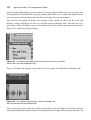
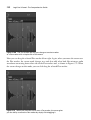
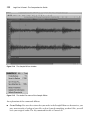
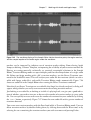
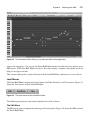
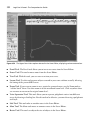
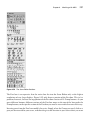
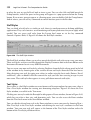
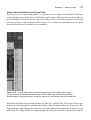
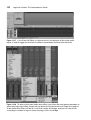
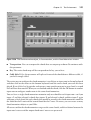
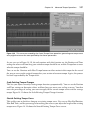
Quantize ruler in the Sample Editor waveform display as shown in Figure 7.34. Logic uses the
same analysis parameters and the same analysis engine for both functions. Refer to the section
‘‘The Audio to MIDI Groove Template’’ earlier for descriptions of these parameters. The only
different parameter is Minimum Quality, which gives you two options, Normal and High. The
Normal setting is more tolerant of notes slightly off pitch but may capture wrong notes. The High
setting is far more exacting, but it only converts those notes that it can discern accurately, so it
may miss notes. Experiment with both settings to see what works better for any given audio
selection.
When you are ready, click Process. Logic then converts your audio into MIDI data and opens up
the Score Editor with the newly created MIDI region. Logic uses the Score Editor because this
function was initially conceived as a method of writing sheet music from audio. This is why the
function is called Audio to Score instead of Audio to MIDI. Don’t worry; you can copy and paste
the data into any editor or a new MIDI region however you see fit.
The Quantize Engine
Quantizing audio in the Sample Editor isn’t as easy a process as it is using Flex Time editing—but
depending on the source material, you can still achieve good, and sometimes more interesting,
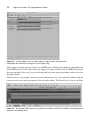
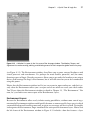
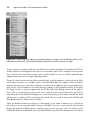
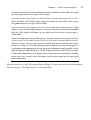
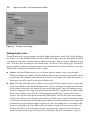
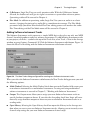
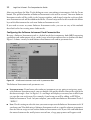
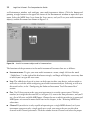
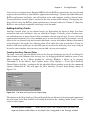
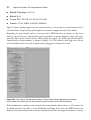
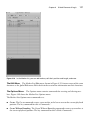
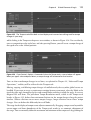
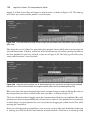
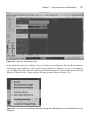
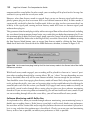
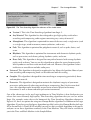
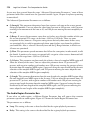
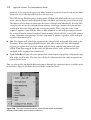
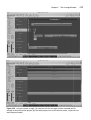
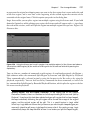
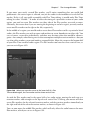
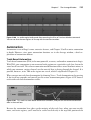
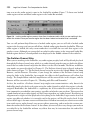
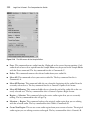
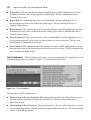
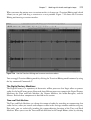
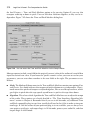
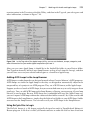
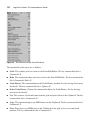
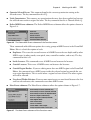
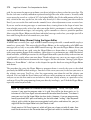
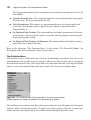
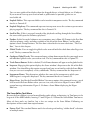
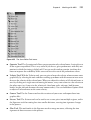
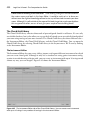
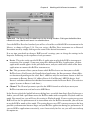
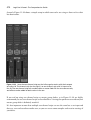
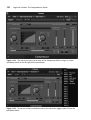
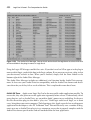
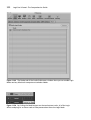
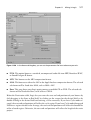
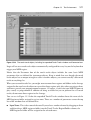
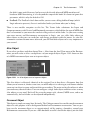
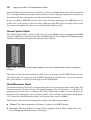
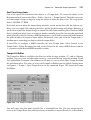
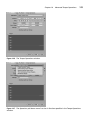
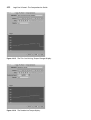
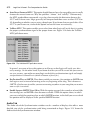
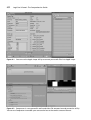
results. If you choose Quantize Engine, the dialog box shown in Figure 7.36 will appear.
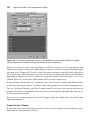
Once again, most of the parameters are the same as in the other Digital Factory Functions, and
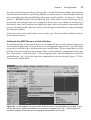
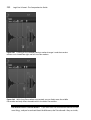
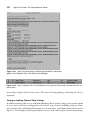
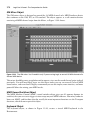
the Audio Quantize ruler shown in Figure 7.34 appears. The only new parameters are Quantize
By, which opens the standard Quantize pull-down menu from the MIDI Region Parameter box,
and Maximum Range, in which you set the maximum number of milliseconds that a peak in the