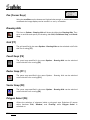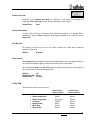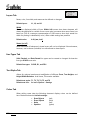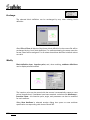
1
Process Classification
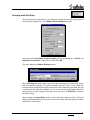
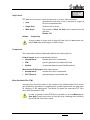
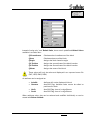
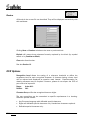
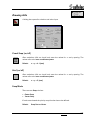
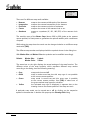
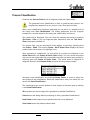
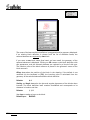
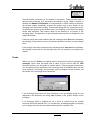
Continue with Process Probes until all assigned probes have been taken.
The generated color classification is likely to generate bad results if the
progress bar appears for a very long or a very short period of time.
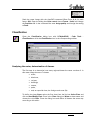
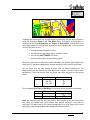
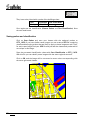
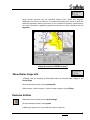
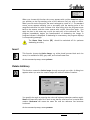
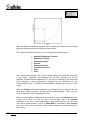
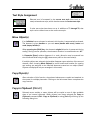
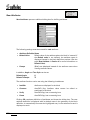
After a color classification has been generated you can test it in a suitable area of
the image with Test Classification. The dialog disappears and the program
prompts for a window selection for testing the classification in this area.
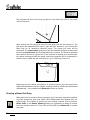
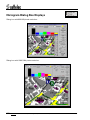
The results will be displayed. You can cancel the selected test areas by pressing
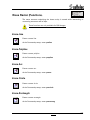
Test Areas - Clear or you can suppress them temporarily with the Test Areas Show checkmark switched off.
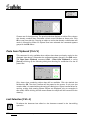
For a better view, you can also switch off the display of previously picked probes
with Probes - Show. The function Probes - All Of Active Class displays all picked
probes of the active class in the highlight color.
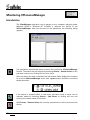
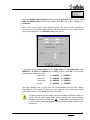
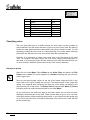
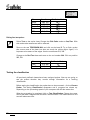
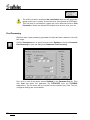
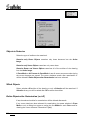
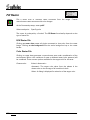
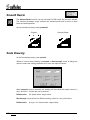
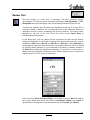
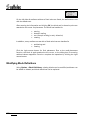
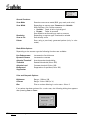
After generating a classification, hit rate values (in percent) are displayed in the
Active Class and in the Probes of Active Class listings. You can review the probes
with low hit rate values (which are most likely the ones to prevent good results) by
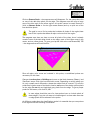
selecting them with Probes of Active Class. The active probe is displayed in
magenta. Discard it with Remove Probe and pick (a) new probe(s) instead.
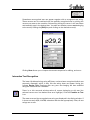
Generate a new classification by pressing Process Probes in order to assign the
new probes to the classification. When the classification suits your needs you can
save it with Save Classification.
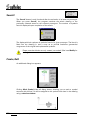
The classification can now be applied to other images of the same type by loading
it with Load Classification.
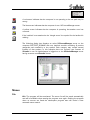
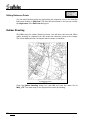
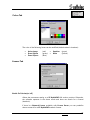
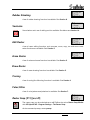
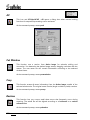
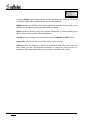
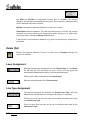
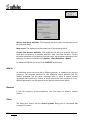
OK processes the entire image with a generated or loaded Classification.
Cancel leaves the dialog without prompting to save a generated classification!
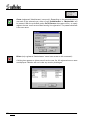
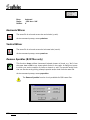
Load Probes loads probes, but the picked areas will not be displayed.
Save Probes saves the picked probes to disk.
V 6-7 / E
Section 7
Color Reduction, Color Separation, Color Classification, Filters
151