1
CleverQ™ Introduction and Setup Manual
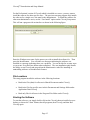
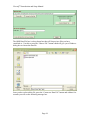
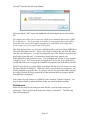
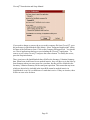
After pressing the “OK” button, the dashboard will load using the newly selected data
file.
The software also allows you to connect to a SQL Server database and transfer a QBD
file to SQL Server. This is provided as an option for large organizations and requires
assistance from our technical support department for installation and configuration.
Please contact us if you are interested in this option.
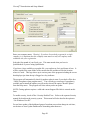
This form also provides a way to create a scheduled task to send your selected QBD Data
File to the Subscription Service. Select a time in the evening at the end of the day when
your file is not being used. You will be prompted to enter your Windows user name and
password to create this task. You must have already previously entered your
Subscription ID on the preferences form. This scheduled task will run on your computer
as long as it is on. You do not need to be logged on for it to work. It is a good idea to
run this task while you are logged on to unblock the program from the Windows firewall.
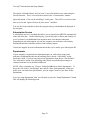
The File menu also gives you the ability to backup a data file as well as create a new data
file from a blank or existing file. When you create a new file from an existing one, you
will be prompted to purge the data. If you reply with yes, the report data table is purged,
the cache is cleared, the log is purged, the account and item tables are purged, and the
new QBD file is compacted.
Note: When CleverQ connects to a QBD file with a company "Sample Company", you
may be asked whether to adjust the dates so they are current to the present date.
Preferences
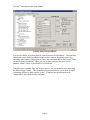
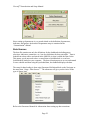
When you are ready to start using your own data file, you first need to setup your
preferences. This is done from the menu item “Setup – Preferences”. The following
form will be displayed.
Page 19