1
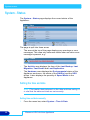
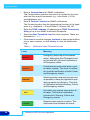
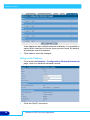
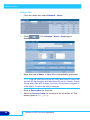
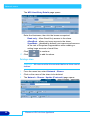
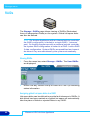
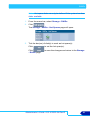
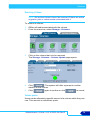
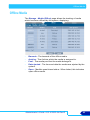
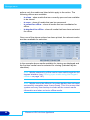
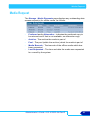
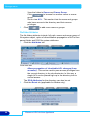
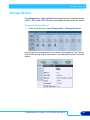
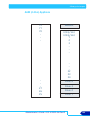
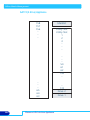
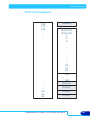
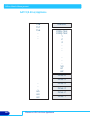
Storage menu
Step 1: Once the close media button has been pressed, the system
will immediately make the archive read-only. This is to ensure that
only files that already exist on the RAID cache at the time of the close
media action will be saved to any open media.
Step 2: Check that all files for the archive volume in question have the
correct number of copies. If an archive has two media pools then each
file must exist on two pieces of media.
Step 3: Once all the files have been written to UDO, any open media
are closed.
Step 4: Once all media have been closed the archive volume is
reverted to writable.
Step 5: The backup is started to ensure that all media status
information is protected, so that all closed media can be removed
from the library if required.
Note: The media close process can be cancelled during step 1,
2 and 3 pressing the
button. However, once
a piece of media has been closed it cannot be reverted.
The close media process may take some time to complete during
which time the archive is not writable. Also the process will continue
after a appliance restart until all media are closed.
Note: If the close media process fails for any reason the archive
remains read-only to avoid unwanted files to be written to the
media set. Select ‘cancel’ close media’ to cancel the closing
process and make the archive writable.
78
Plasmon UDO Archive Appliance