1
CHAPTER 4
4.9.1 Using the document's grid
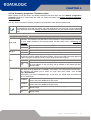
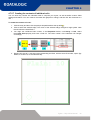
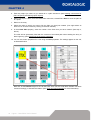
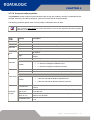
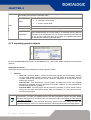
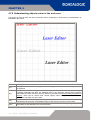
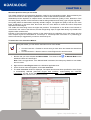
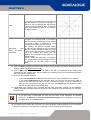
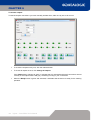
The document's grid is a series of traced lines which intersect. They can be used to precisely align and
position objects in the drawing window.
The distance between lines in the grid can be set by specifying the spacing in the document property
browser. (For further information on how to create documents, see About documents).
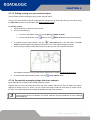
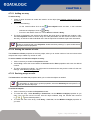
To customize the grid:
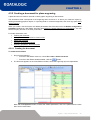
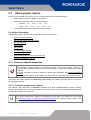
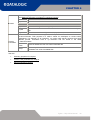
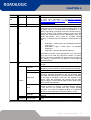
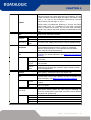
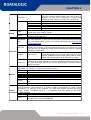
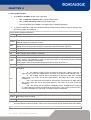
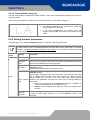
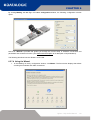
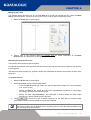
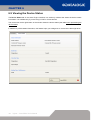
1. Deselect any object in the work area to display the Properties window for the document. By default,
under Geometry, the Grid property is set to True, meaning that the grid is enabled.
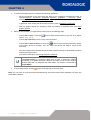
2. To set the exact distance between lines, enter the desired value as the Step. By default, this value is
set to 10,00. Enter a lower value to align and position objects with greater precision.
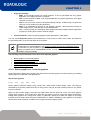
3. To snap to grid objects, set the Snap to grid property's value to True. This way, objects will be
moved and aligned to the closest grid line.
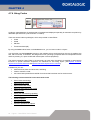
4.9.2 Enabling/disabling objects
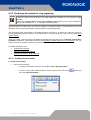
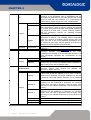
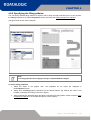
In order to be marked, an object must be enabled in the layout. By default, each object that you add to a
document is enabled.
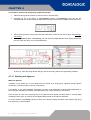
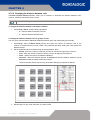
To disable an object:
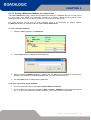
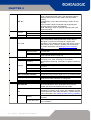
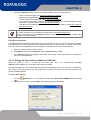
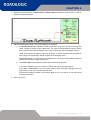
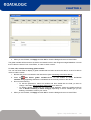
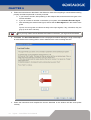
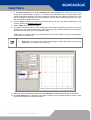
1. Select the object in the graphic area to display its properties.
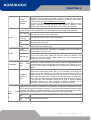
2. In the Properties window, under Geometry, set the Enable value to False.
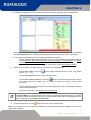
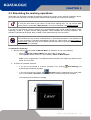
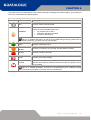
3. The object is still displayed in the graphic area, but its color changes to gray to indicate that it is
disabled and it will not be marked.
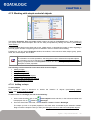
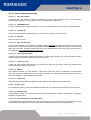
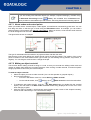
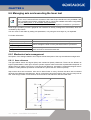
4.9.3 Using the mouse to select and manipulate objects
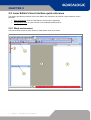
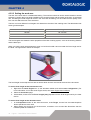
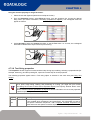
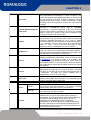
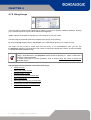
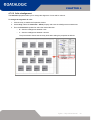
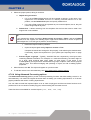
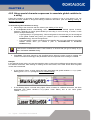
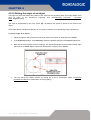
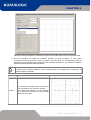
You can select and operate on objects by using the mouse.
Besides selecting objects, the mouse allows for quick, rough sizing and positioning.
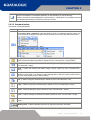
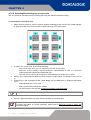
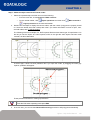
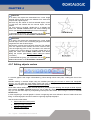
Tip:
For
extremely
precise
resizing,
positioning,
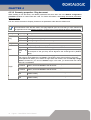
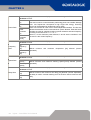
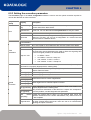
objects Geometry properties in the Property browser.
Objects).
or
skewing,
use
the
(See Geometry properties for
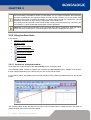
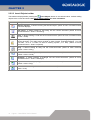
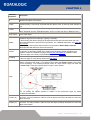
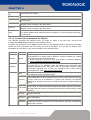
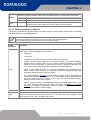
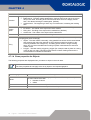
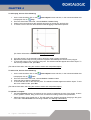
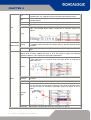
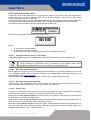
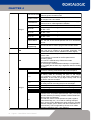
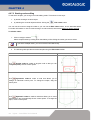
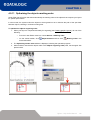
What you can do with the mouse:
•
Selecting object(s)
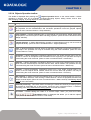
•
Moving, resizing, or locking objects
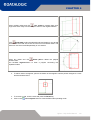
•
Skewing and rotating objects
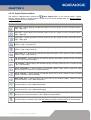
•
Editing nodes
Lighter – Help Online Manual
114