1
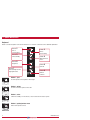
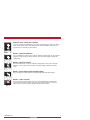
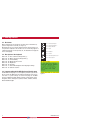
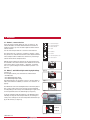
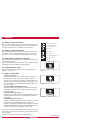
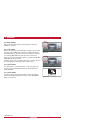
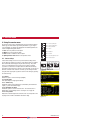
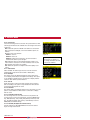
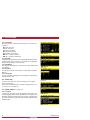
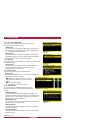
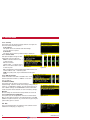
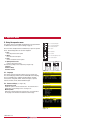
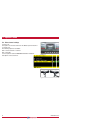
3. Keyboard 3.1. Button 8, camera selection Button 1 = Selection/setting Plus + Press the camera selection button (8) once (see Figure 2). The camera LED flashes to indicate that manual camera selection is enabled (see Figure 3). Press the button again to disable manual camera selection. Use the minus and plus buttons to select the desired camera. Button 2 = Selection/setting Minus Button 3 = Menu/confirmation Button 4 = Option Button 5 = Brightness The other buttons (6 = contrast, 5 = brightness and 5+6 = saturation) can also be used and these functions can be adjusted with the minus and plus buttons. Disable these functions by reselecting a camera with the minus and plus buttons. Button 6 = Contrast Button 7 = Automatic brightness on/off Button 8 = Camera selection Manual camera selection has priority over the scan function and the switchwires. The button function can be disabled in the service menu via the option 'system settings keyboard keyboard lock'. See system settings for more information (section 4.3. on page 12). 3.2. Button 7, auto LCD backlight control day/night settings See figure 4. For a compact camera, press this button to switch between: • The ABC mode • The LCD backlight day setting • The LCD backlight night setting TIC and AFZ cameras are exceptions. For these, pressing button 7 makes other functions available (see sections 3.8.1. and 3.8.2. on page 9). The ABC mode controls the backlight between a minimum (adjustable; see also under service menu on page 13) and a maximum level depending on the intensity of the ambient light. A light sensor on the keyboard measures the ambient light (see Figure 6). Button 8 Figure 2 Button 8 Figure 3 Button 7 Figure 4 In the day and night mode the brightness of the backlight can be manually set using the minus and plus buttons (the settings are saved). These settings are not camera dependent and therefore apply for all cameras (see Figure 5). Figure 5 Button 1 Button 2 Figure 6 UM0972020 R3-0 7